
How to Capture a Screenshot on iPhone
Learn how to capture a screenshot on iPhone with our complete guide. Covers all models, editing tools, and advanced tricks for iOS.
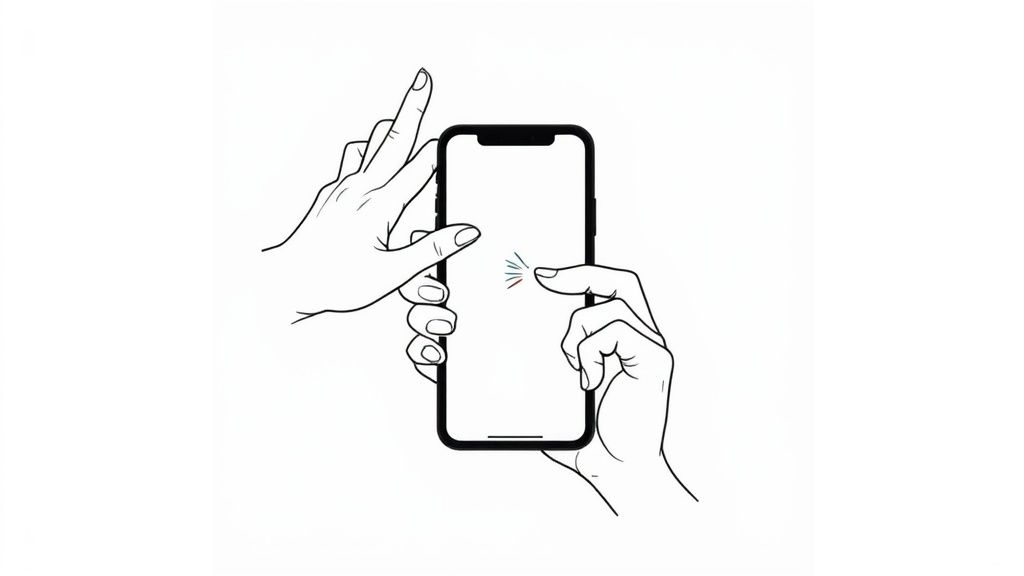
Taking a screenshot on your iPhone is one of those skills you use constantly. The basic method is simple: on newer iPhones with Face ID, you just press the Side and Volume Up buttons at the same time. If you have an older model with a Home button, you'll press the Home and Side (or Top) buttons together instead.
Your Essential Guide to iPhone Screenshots
Welcome to the only guide you'll ever need for mastering screenshots on your iPhone. Whether you're trying to save a hilarious text thread, document a weird bug for a support ticket, or just grab a perfect frame from a video, this is a skill you can't live without. This guide cuts through the noise and gives you clear, direct instructions that work for every model and iOS version.
Think of this as your go-to reference. We'll dive into the specific button combos and then explore the surprisingly powerful editing and sharing tools that Apple has baked right into iOS.
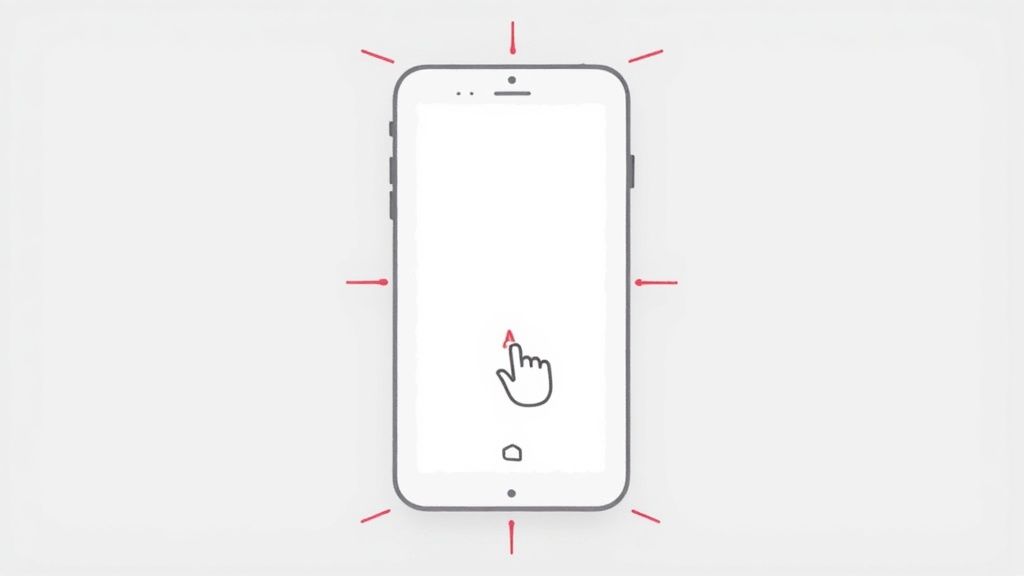
This infographic breaks down the core process into three simple stages.
As you can see, the whole workflow from figuring out your device to sending off the final image is designed to be quick and seamless.
From Innovation to Everyday Use
The ability to instantly capture your screen has become second nature to us, but it was a genuine leap forward in how we interact with our phones. In fact, Apple pioneered this feature with the very first iPhone back in 2007, integrating it directly into the operating system.
This move came a full four years before Android added native screenshot support in 2011. It’s a great example of how a simple utility can completely change digital communication. If you're curious, you can find more on the history of the screenshot and its massive impact online.
Quick Guide to iPhone Screenshot Button Combinations
Not sure which buttons to press? Apple has changed the combination a few times over the years. This table should clear things up instantly.
| iPhone Model Type | Button Combination to Press Simultaneously |
|---|---|
| iPhones with Face ID (iPhone X & newer) | Side Button + Volume Up Button |
| iPhones with a Home Button (iPhone SE, 8, 7, 6) | Home Button + Side Button (or Top Button) |
Just find your model type, and you’ll know exactly what to do. It’s a quick muscle memory to learn, and you'll be snapping screenshots without a second thought.
Creating High-Converting App Store Screenshots
Beyond just personal use, screenshots are a massive deal for app developers. Crafting compelling App Store screenshots for both iOS and Android is a specialized skill that can make or break an app's success. It’s about more than just grabbing a screen; it’s a strategic design process meant to fuel app store growth. A dedicated site editor transforms a basic screen capture into a high-converting marketing asset.
For example, you can take a raw screenshot of your app's main dashboard and then use an editor to:
- Place it inside a vibrant, appealing device mockup.
- Add a bold headline like "Track Your Progress in Seconds" above the device.
- Use a vibrant background color that matches your app's branding to make it pop.
This actionable insight turns a simple feature demonstration into a powerful tool designed to drive downloads and show off your app’s real value.
Taking Screenshots on Modern iPhones
If you're using an iPhone X or any of the newer models with Face ID, Apple has made taking a screenshot incredibly straightforward. Forget the Home button the method for this generation of iPhones is all about a quick, two-button press.
It’s simple: just press and instantly release the Side button (on the right) and the Volume Up button (on the left) at the same time. The key is to make it a quick tap, not a long press. If you hold them down too long, you'll end up on the power-off screen instead.
What Happens Right After You Snap
Once you nail the button press, your iPhone gives you immediate confirmation that it worked. Three things happen in a flash:
- Your screen will briefly flash white.
- You'll hear that familiar camera shutter sound (unless your phone is on silent).
- A small preview of your screenshot pops up in the bottom-left corner.
This little thumbnail is your new best friend for quick actions. If you ignore it, it will vanish after a few seconds, and the screenshot will be safely stored in your Photos app. You can also just swipe it away to the left to dismiss it even faster.
But tapping that thumbnail is where the magic happens. It immediately opens up a powerful editing tool, letting you crop, mark up, or share the image without ever having to dig through your Photos app. It’s all designed for speed.
This workflow is pretty consistent across Apple’s devices. In fact, the process is very similar when you learn more about how to screenshot with an iPad. Getting this muscle memory down will make you much quicker at capturing and sharing exactly what you need, right when you need it.
Taking Screenshots on iPhones With a Home Button
Still rocking an iPhone with that classic Home button? If you've got an iPhone SE, an iPhone 8, or an even older model, the muscle memory for taking a screenshot is a little different. Instead of fiddling with volume buttons, it all comes down to that iconic circle below your screen.
It’s a simple two-button move. Just press the Home button and the Side button (on the right) at the same time, then let go. Quick and easy.
For very old models, like the iPhone 5, the combination is the Home button and the Top button. The principle is exactly the same.
A quick, simultaneous press is the key here. If you hold the Side button down for too long, you’ll end up summoning Siri or bringing up the power-off screen, which isn't what you're trying to do.
The Instant Feedback Loop
The moment you get the button press right, your iPhone gives you immediate confirmation. The screen will flash white for a split second, and you’ll hear that familiar camera shutter click (unless your phone is on silent). This is great because you know instantly that you’ve captured the shot.
Right after, a little thumbnail of your screenshot pops up in the bottom-left corner. This is your cue to decide what's next.
You can either swipe it away to the left to save it straight to your Photos app, or tap on it to jump right into the editing tools. This lets you crop, mark up, or share the image without having to dig through your camera roll. It's a clean, efficient system that works perfectly every time.
Advanced Screenshot Techniques You Should Know
Taking a screenshot is one thing, but your iPhone has a few tricks up its sleeve that can completely change how you capture your screen. These aren't just novelties; they're genuinely useful shortcuts hidden in the Accessibility settings.
Think about trying to grab a screenshot one-handed or when one of your physical buttons is on the fritz. That’s where these methods come in.
https://www.youtube.com/embed/MFoUl1_2C9Q
One of my absolute favorites is Back Tap. It does exactly what it sounds like: you just double or triple-tap the back of your iPhone, and boom screenshot taken. It feels a bit like magic the first time you try it, and it quickly becomes second nature for those quick, on-the-fly captures.
Setting Up Back Tap for Screenshots
Enabling this feature takes less than a minute but saves you a ton of fumbling with buttons later. It's a surprisingly elegant way to snap a screenshot without even thinking about it.
Here’s how to get it going:
- Head into your Settings app.
- Scroll down and tap into Accessibility.
- Find the "Physical and Motor" section and choose Touch.
- Go all the way to the bottom and select Back Tap.
You’ll see options for both Double Tap and Triple Tap. You can assign the screenshot action to whichever feels more natural to you. Just tap your choice and pick "Screenshot" from the list of system actions. That's it, you're all set.
This accessibility feature is a total game-changer for one-handed use. I have mine set to a double-tap, and it means I can capture anything instantly without having to awkwardly shift my grip. It's so much faster and more intuitive than the old two-button press.
Using AssistiveTouch as an Alternative
Another incredibly useful tool is AssistiveTouch. This feature puts a small, customizable button right on your screen that you can program to take a screenshot with a single tap.
This is a lifesaver if your iPhone's physical buttons are broken or just hard to press.
To turn it on, navigate to Settings > Accessibility > Touch > AssistiveTouch and flip the switch on. From there, you can customize the "Top Level Menu" to include a "Screenshot" icon. This little floating button gives you a foolproof, on-screen trigger to capture your screen anytime, making sure the function is always there when you need it.
Grabbing the screen is just the first move. The real magic happens in what you do next, turning a simple screen capture into a clear, helpful image.
When you take a screenshot, don't ignore that little thumbnail that pops up in the corner. Tapping it instantly opens a surprisingly powerful editor.
This is your command center for quick tweaks. You can crop with precision to get rid of sensitive info or just zero in on what matters. The editor also gives you a full suite of markup tools to really make your screenshot talk.
And if you find yourself needing even more firepower, our guide on the best screenshot editor tools is worth a look.
Mastering the Markup Tools
The markup palette is where you add context. Think of it as your digital red pen. It’s perfect for circling a bug for a support ticket or highlighting a key metric in a report you're about to send over Slack.
Here’s a quick rundown of what you can do:
- Draw and Highlight: Use different pens and highlighters to draw attention exactly where you need it.
- Add Text: Drop a text box anywhere on the image to add quick notes, comments, or explanations.
- Insert Shapes: Add circles, squares, or arrows to make your point impossible to miss.
- Add Your Signature: Need to sign a document or approve a design quickly? You can do it right on the screenshot.
Speaking of changes, if you've been using iPhones for a while, you might remember the iOS 26 update back in 2025. Apple switched things up, replacing the small thumbnail with a full-screen preview to showcase new features like automatic text detection. If that's not your style, you can always revert by disabling Full-Screen Previews in Settings.
Capturing More Than What You See
One of the most underrated features hiding in the screenshot editor is the Full Page option. If you've ever taken a screenshot in Safari, you know what I'm talking about. It's a total game-changer.
Instead of stitching together multiple shots, tapping "Full Page" lets you save an entire webpage or a long document as a single, scrollable PDF.
This is perfect for saving articles to read later, archiving receipts for expenses, or sharing long email threads without breaking them up.
It's an incredibly useful tool for anyone who needs to capture content that extends beyond the visible screen. No more clumsy scrolling and snapping just one tap, and you’ve got it all.
Creating App Store Screenshots That Actually Convert
For app developers, snapping a screenshot on an iPhone is the easy part. A raw screen grab is not what gets you downloads. The App Store screenshots that boost growth are carefully crafted marketing assets designed to drive conversions on both the iOS and Android stores. The goal is to turn a simple capture into a visual story that sells not just what your app does, but why a user needs it. This means moving beyond the default output to create efficient and high-converting visuals.
Designing for Downloads
To make your app stand out, treat every screenshot like a miniature advertisement. Use a dedicated site editor to frame your captures inside neat, appealing device mockups. This is your chance to overlay bold, punchy marketing copy that highlights your app's benefits. For example, a screenshot showing a fitness app’s progress chart is good. A screenshot showing that chart inside a mockup with the headline “Reach Your Goals Faster” and a vibrant, branded background is great. This actionable approach helps boost App Store growth.
Think about creating a clear narrative across your screenshot gallery.
- Your first image must hook users immediately with your app's main value proposition.
- The next few images should walk them through key features and real-world use cases.
- Always use neat appealing imagery with vibrant colors and clean layouts consistent with your brand.
This strategic approach is what separates the apps that get scrolled past from the ones that get installed.
A great App Store screenshot doesn't just show a feature; it sells a solution. The goal is to create an immediate connection, making someone feel like your app is the exact answer they've been searching for.
From Capture to Conversion
Making visuals that convert is all about the details. You need to guide the user's eye to what matters most. A simple annotation pointing out a specific button or feature that solves a common pain point can make a world of difference. Your layout, vibrant colors, and text must work together to tell a cohesive story and boost conversions. Browsing galleries of well-designed iOS app screenshots provides practical examples of how top apps turn basic visuals into powerful conversion tools. It’s all about reframing a feature as a story that ultimately drives that install.
Got Questions? We've Got Answers.
Even with the basics covered, a few common questions always pop up. Here are the quick answers to the things we get asked most often.
Where Do My iPhone Screenshots Go?
Your iPhone automatically saves every screenshot to your Photos app. You'll find them right at the top of your 'Recents' album, but for easier access, they also get their own dedicated 'Screenshots' album. You can find that by tapping the 'Albums' tab and scrolling down to the Media Types section.
Why Won't Some Apps Let Me Take a Screenshot?
Ever tried to screenshot something in your banking app or on a streaming service and just gotten a black screen? That's not a bug it's a security feature. Many apps intentionally block screenshots to protect sensitive information (like your account details) or copyrighted content.
It's an intentional choice by the app developer to keep your data safe. There isn't a setting on your iPhone you can change to get around this; it's hardwired into the app itself.
How Do I Take One of Those Long, Scrolling Screenshots?
Apple calls this a 'Full Page' screenshot, and it's a lifesaver for capturing entire articles or recipes in apps like Safari.
Here’s how it works:
- Take a screenshot as you normally would.
- Tap the little thumbnail preview that appears in the corner.
- At the top of the editing screen, you'll see two tabs: 'Screen' and 'Full Page'.
- Tap 'Full Page'.
Just a heads-up, your iPhone will save this as a PDF, not a standard image file. It’s perfect for documents.
Is There a Way to Share a Screenshot Without Saving It?
Absolutely. If you want to send a quick visual to someone without cluttering up your camera roll, this is the way to do it.
Take your screenshot, then immediately tap the thumbnail preview. After you make any quick edits, tap the Share icon (the little box with an arrow pointing up) in the top right. Once you've sent it off, just tap 'Done' and choose the 'Delete Screenshot' option. It gets sent, but never saved.
Ready to create stunning, high-converting visuals for your app? With ScreenshotWhale, you can design professional App Store and Google Play screenshots in minutes using our powerful editor and beautiful templates. Try ScreenshotWhale for free.