
How to Upload a Screenshot: The Ultimate Guide for App Store Success
Struggling with how do I upload a screenshot? Our guide offers clear, actionable steps for iPhone, Android, Windows, Mac, and even the app stores.
Knowing how to upload a screenshot is a fundamental digital skill, whether you're sharing a funny text with a friend or designing high-converting visuals for the Apple App Store and Google Play. While the process differs slightly between an iPhone and a Windows PC, the core steps remain the same. First, you capture the image. Second, you use the "upload" or "attach file" button in your chosen app or website.
A Quick Guide to Uploading Screenshots
Let's break down the capture process first. Mastering this is half the battle, and each platform has standard commands.
- iOS (iPhone/iPad): Press the Side button and the Volume Up button simultaneously. For older devices with a Home button, use the Side/Top button and the Home button.
- Android: The most common method is pressing the Power and Volume Down buttons together. This is nearly universal across different manufacturers.
- Windows: The
PrtSckey copies your entire screen to the clipboard. For more control, useWindows Key + Shift + Sto open the Snipping Tool and select a specific area. - macOS:
Command + Shift + 3captures your entire screen. To select a specific area,Command + Shift + 4turns your cursor into a selection tool.
Once you have your screenshot, it's saved as an image file on your device. Now, you just need to get it where it needs to go.
Look for a button labeled "Upload," "Attach File," or an icon that looks like a paperclip. For app developers, understanding a platform's specific asset upload features is crucial for a smooth workflow.

This skill has become essential in our mobile-centric world. Smartphones are at the heart of how we create and share images. Projections indicate that by 2025, smartphones will be responsible for about 94% of all photography worldwide, highlighting their importance in daily communication.
To make things even easier, here is a quick cheat sheet.
Screenshot Upload Cheat Sheet
Sometimes you just need a quick reminder. This table covers the basics for each major platform.
| Platform | How to Capture | Typical Upload Action |
|---|---|---|
| iPhone/iPad | Press Side + Volume Up buttons | Tap the share icon or look for a "+" or paperclip icon |
| Android | Press Power + Volume Down buttons | Use the share menu or find an "Attach" or paperclip icon |
| Windows | Win + Shift + S or PrtSc key |
Click "Upload File," "Attach," or paste from clipboard (Ctrl+V) |
| macOS | Cmd + Shift + 3 or Cmd + Shift + 4 |
Drag the file from your desktop or click an "Upload" button |
Think of this as your starting point. With these commands, you are ready to tackle the specific guides for each device.
Sending Screenshots From Your Mobile Device
Most of your screenshots likely come from your phone. Moving them from your gallery to an app or service should be fast and painless. The goal is to get from capture to upload in just a few taps.
This mobile first trend is backed by data. The global photo sharing market is projected to reach $15 billion by 2025, with a steady 15% annual growth rate. This boom reflects our reliance on phones for quick, visual communication. You can explore the data in market research from Archive Market Research.
Sharing on an iPhone
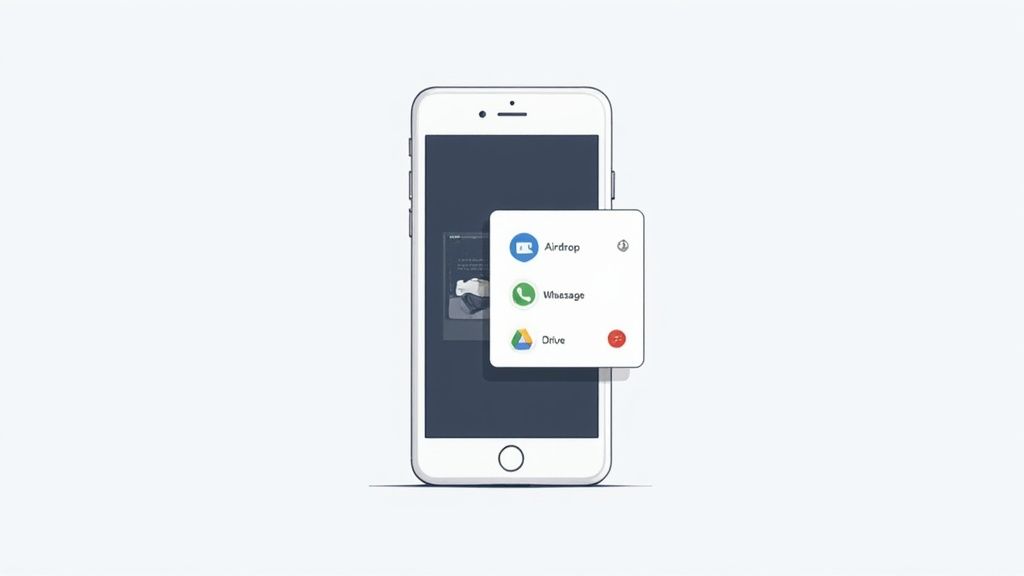
On an iPhone, the Share Sheet is your central hub. After taking a screenshot, tap the thumbnail that appears or find the image in your Photos app.
- First, look for the Share Icon, the familiar square with an upward pointing arrow.
- Tapping it opens a menu to AirDrop it, send it via Messages or Mail, or share it directly to other apps.
- Scroll through the app list to send it straight to social media or upload it to a cloud service like Google Drive.
This direct-to-app method is a significant time saver, eliminating the need to save, close, switch apps, and then locate the image.
Android’s Versatile Upload Options
Android offers a similarly powerful Share Sheet that integrates with nearly every installed app. After capturing the screen, open the image from your gallery or notification shade.
Tapping the 'Share' icon instantly pulls up a menu of all your compatible apps. This means you can fire off your screenshot to WhatsApp, Slack, or Google Photos in just a couple of taps. The journey from capture to upload is practically instant.
The process on tablets, whether iPad or Android, is almost identical. For a more detailed breakdown, see our guide on how to take a screenshot on a tablet.
Mastering the share menu is the key to quickly getting your screenshots where they need to go, regardless of your device.
Mastering Screenshot Uploads on Your Desktop
Working with screenshots on a desktop provides more control, though it may involve a few more clicks than on mobile. The workflow differs slightly between Windows and macOS, but both become intuitive with practice.

Whether you are submitting a bug report or attaching a picture to an email, the first step is knowing how your operating system handles captures.
Uploading a Screenshot on Windows
Windows offers several excellent ways to capture your screen. The traditional Print Screen (PrtSc) key copies your entire screen to the clipboard, allowing you to paste it directly into an application with Ctrl + V.
For more precision, the Snip & Sketch tool is invaluable. Press Windows Key + Shift + S to select a specific area. It is copied to your clipboard and saved as a temporary file.
To upload the capture:
- Navigate to the website or app where you need to upload it.
- Look for an “Attach File” or “Upload Image” button, often represented by a paperclip icon.
- This will open your file explorer, where you can find and select the screenshot you just saved.
How to Upload a Screenshot on Mac
macOS makes capturing and uploading screenshots feel seamless. The shortcut Command + Shift + 4 lets you drag to select a specific area of your screen. By default, your Mac saves it as a PNG file directly on your desktop.
This drag-and-drop functionality is a massive time-saver. When I'm adding a task to Trello or Asana, for example, I can just drag the screenshot file from my desktop and drop it right onto the task card. It uploads automatically.
This trick eliminates the need to navigate through file menus, making your entire process much faster.
Once your screenshots are ready, you can easily polish them by adding annotations or frames using a tool like the ScreenshotWhale editor before sending them off. That final touch can make your images look much more professional.
Creating High-Converting App Store Screenshots
For app developers, screenshots are the most critical sales pitch. They are the primary tool for persuading potential users to tap the "Install" button. Creating compelling visuals involves mastering both technical requirements and persuasive design.
The first challenge is meeting the guidelines of Apple and Google. Both platforms have strict rules for dimensions, file formats, and sizes. A mistake can lead to rejection, stalling your launch. To avoid this, consult our detailed guide on app store screenshot dimensions.
Designing Screenshots That Actually Convert
Once you handle the technical specs, the creative work begins. The best screenshots tell a story, guiding a potential user through your app's core value in seconds. To build a powerful visual narrative, focus on these elements:
- Lead with Your Best Feature: The first two screenshots are crucial. Showcase your app's most compelling feature or benefit right away.
- Write Bold, Clear Captions: Use short, benefit focused text. For example, instead of "Expense Tracking," write "Track Spending in Seconds." A tool like the ScreenshotWhale editor lets you easily add and style this text on top of your images.
- Maintain Brand Consistency: Use your brand's colors, fonts, and style to build recognition and trust.
- Use Device Mockups: Placing screenshots within a realistic device frame makes them look more polished and professional. This can be done with one click in most screenshot design tools.
The principles of clear, engaging visuals are universal. Learning how to create social media content can provide ideas that apply to creating better marketing materials.
App Store vs Google Play Screenshot Requirements
While the design philosophy is similar for both stores, the technical requirements differ. Following each platform's rules is essential for a successful submission.
Here is a quick comparison to keep handy.
| Requirement | Apple App Store (iOS) | Google Play Store (Android) |
|---|---|---|
| File Format | PNG or high-quality JPG | PNG or JPG |
| Number of Images | Up to 10 screenshots per device | Up to 8 screenshots per device |
| Common Dimensions | Varies by device (e.g., 1290x2796 for 6.7" iPhone) | Varies, but 1080p is a safe bet |
| Transparency | Not allowed (no alpha channel) | Not allowed |
Getting these specs right from the start saves you from the frustration of an app update being rejected for a simple file type error.
Remember, your goal is to reduce friction. Every screenshot should answer a potential user's question and build excitement for what your app can do for them. Think of it as a mini-tutorial that sells. By combining sharp design with clear messaging, you turn passive browsers into active users and boost your app store conversions.
Nothing's more frustrating than a failed upload, especially when you're on a deadline. When a screenshot upload fails, it is almost always due to an incorrect file format, an oversized file, or a lack of permissions. Fortunately, these problems are usually easy to fix.
App stores and other services are specific about what they accept. For example, many websites reject the modern iPhone HEIC format because they are only configured to handle JPG or PNG files. Another common issue is file size. A high resolution screenshot can easily exceed upload limits.
Getting Past File and Permission Errors
You do not need to be a tech expert to solve these issues.
If you have the wrong file format, converting it is simple. On a Mac, open the image in Preview, go to File > Export, and choose PNG or JPG. On Windows, the Paint app can do the same. Open your screenshot and use the "Save As" option to select a different format.
Permission errors are another common problem. If an app or website cannot access your photo library, it means you have not granted permission. Here is how to fix it:
- On an iPhone or iPad: Open Settings, find the app, tap it, select "Photos," and ensure "All Photos" is checked.
- On Android: Go to Settings > Apps. Find your app, tap it, go into "Permissions," and grant access for "Files and media" or "Photos."
This decision tree provides a visual guide for the formats needed for the Apple App Store and Google Play Store.
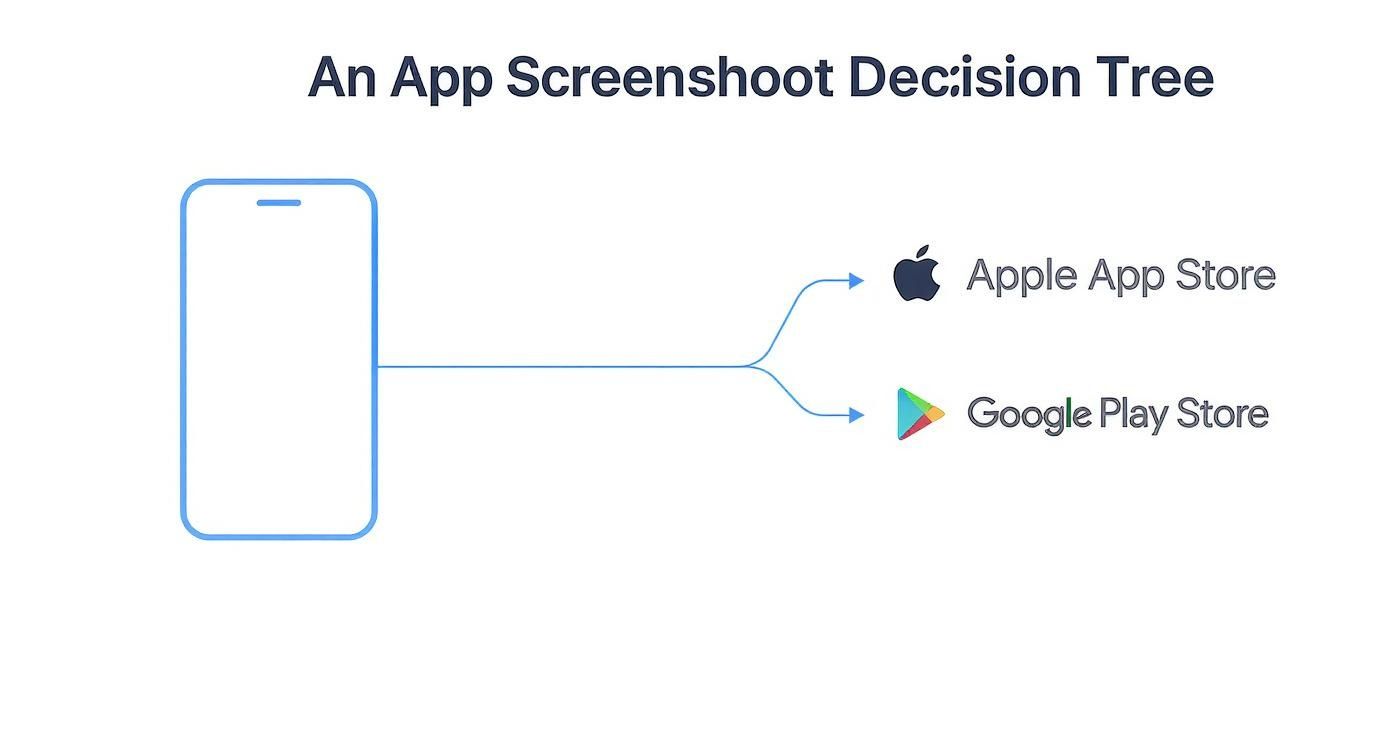
As you can see, both app stores accept PNG and JPG files. Sticking to one of these two formats is always your safest bet, regardless of where you are uploading.
The real pro tip here is to always check the platform’s requirements before you even start taking screenshots. A quick scan of their help docs for accepted file types and size limits can save you a massive headache later on.
A Few Common Questions About Screenshots
Uploading screenshots seems simple, but a few common issues can arise. Let's address the most frequent questions to help you avoid these frustrations.
We are all constantly sharing screenshots. With over 6 billion people online, visual communication has become a universal language. You can learn more about this trend in the latest global digital reports.
What’s the Best File Format for Screenshots?
Nine times out of ten, PNG is your best bet. It is designed for the sharp lines and crisp text found in user interfaces. PNG uses lossless compression, which preserves every pixel without causing blurriness.
JPG files are great for photos because they are smaller, but they can make the text in your screenshots look fuzzy. When in doubt, stick with PNG to keep everything looking sharp.
Why Does My Screenshot Get Blurry After I Upload It?
This classic problem is almost always caused by aggressive image compression.
Social media platforms and messaging apps handle billions of images, so they automatically shrink them to save space and improve loading times. To combat this, always start with the highest quality screenshot possible. Then, upload it directly to its final destination. Avoid sending it between multiple apps, as each step can add another layer of compression, degrading the quality.
Ready to create stunning, high-converting visuals for the App Store and Google Play? Try ScreenshotWhale and transform your screenshots into powerful marketing assets in minutes. Get started today at https://screenshotwhale.com.