
How Do You Print Screen on MacBook A Pro Guide
Struggling with how do you print screen on MacBook? Master every shortcut for full-screen, window, and regional captures with our practical guide.
Taking a screenshot on a MacBook is one of those things you'll do a thousand times, so it pays to get it right. It’s all about a few key commands baked directly into macOS. Forget installing extra software; these shortcuts are fast, efficient, and cover pretty much any situation you’ll run into.
Whether you're grabbing a shot of a weird error message, saving an online receipt, or crafting high-converting screenshots for the iOS and Android stores, mastering these three methods is essential.
This flowchart lays it all out visually. Think of it as a mental map for choosing the right tool for the job without even thinking about it.
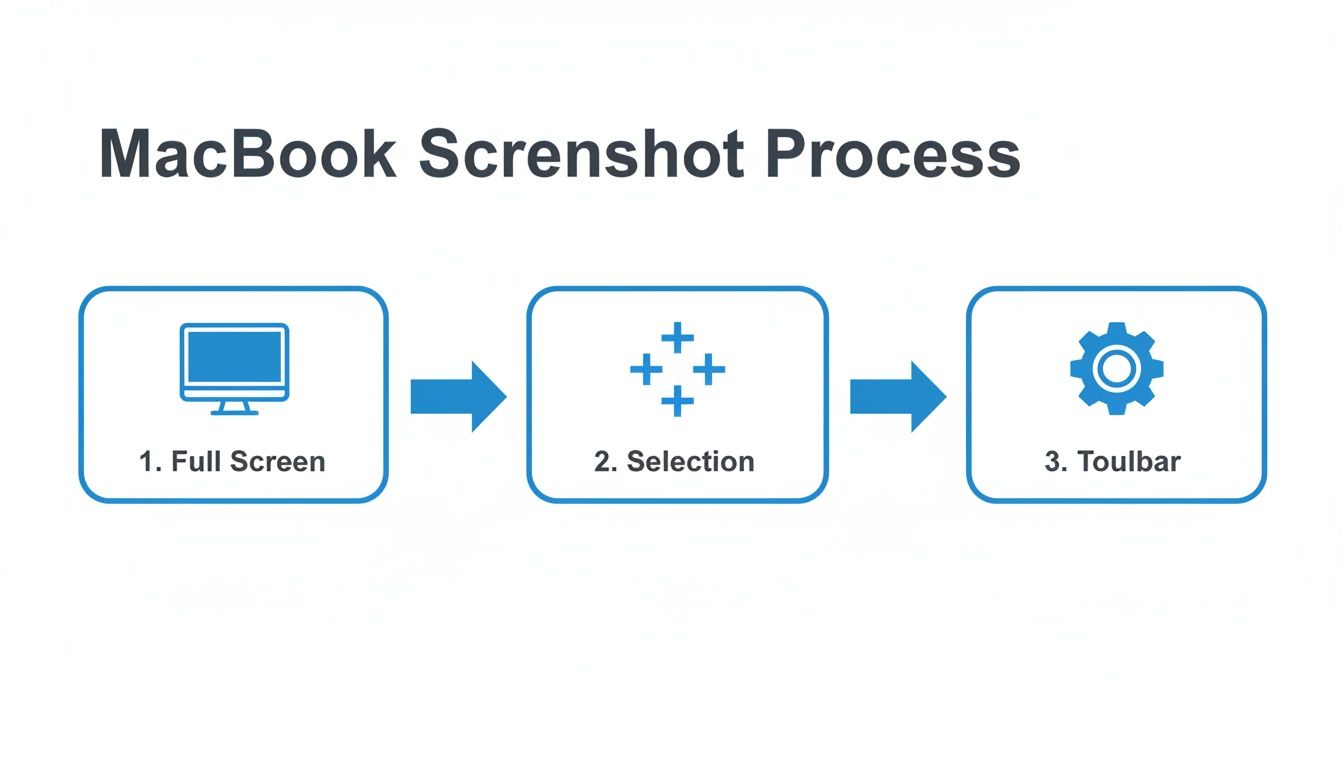
Each path in the diagram corresponds to one of the core commands, making it easy to remember which one to hit in the moment.
For a quick reference, here are the shortcuts you'll use most often.
MacBook Screenshot Shortcuts At a Glance
This table is your cheat sheet for the most common screenshot commands on a MacBook. Keep it handy until the muscle memory kicks in.
| Shortcut | Action | Best For |
|---|---|---|
| Shift-Command-3 | Captures the entire screen | Quickly saving everything visible on your display(s), like error messages or full-page layouts. |
| Shift-Command-4 | Captures a selected area | Grabbing a specific part of your screen, like a paragraph, an image, or a chart. |
| Shift-Command-4 + Spacebar | Captures a specific window | Snapping a perfect image of a single app window, complete with a clean drop shadow. |
| Shift-Command-5 | Opens the Screenshot toolbar | Accessing advanced options like screen recording, timers, and choosing where to save the file. |
Once you've got these down, you'll be able to capture exactly what you need in seconds.
The Full-Screen Grab: Quick and Dirty
The absolute fastest way to capture everything on your display is with Shift-Command-3.
Press those three keys together, and snap. You’ll hear a camera shutter sound as macOS takes a picture of your entire screen. This is my go-to when I need to preserve the full context, no questions asked. A little thumbnail will pop up in the corner, giving you a quick preview.
The Precision Tools: Selections and Windows
For those times you need to be more precise, Shift-Command-4 is your best friend. This command turns your cursor into a set of crosshairs. Just click and drag over the exact area you want to save. It’s perfect for isolating a specific detail and cutting out the noise.
Pro Tip: Here's a trick I use all the time. After hitting Shift-Command-4, don't drag. Instead, tap the spacebar. Your cursor will morph into a little camera icon. Now, just click on any window, and it'll capture just that window, shadow and all. It looks incredibly professional.
The Swiss Army Knife: The Screenshot Toolbar
If you're using a modern version of macOS (Mojave or later), you have access to the most powerful tool of all: Shift-Command-5. This shortcut doesn't take a screenshot directly but opens a small toolbar at the bottom of your screen with every option you could need.
This has been a game-changer for years, and you can see a great walkthrough of these features over on YouTube.
From this one little bar, you can:
- Capture the entire screen, a single window, or a selected area.
- Record a video of your full screen or just a portion of it.
- Set a timer before the capture, which is a lifesaver when you need to capture something tricky like an open dropdown menu.
Managing and Editing Your Screenshots Like a Pro
Grabbing the screenshot is just the start. The real magic, and where you save a ton of time, happens in the seconds immediately after. Knowing how to really print screen on a MacBook means mastering those quick, on-the-fly edits.
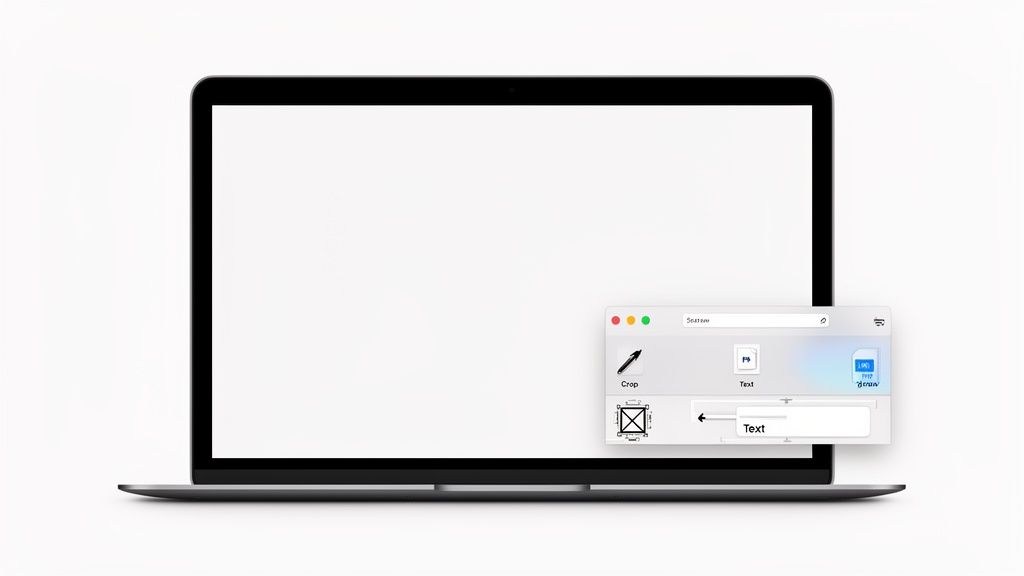
The moment you take a screenshot, macOS gives you a little floating thumbnail in the corner of your screen. A lot of people just let it disappear, but that thumbnail is your launchpad for instant action. If you're creating assets for something like the App Store, this little feature is a game-changer.
Just click it. It opens a surprisingly powerful markup tool where you can immediately get to work. Add an arrow to point out a new feature, draw a box around a crucial detail, or drop in some text to explain a step. You can even crop the image right there before it ever hits your desktop. For anyone preparing visuals for the iOS store, this workflow is a massive time-saver. And if you're working with mobile, our guide on how to screen shot on iPhone is a great next stop.
Understanding File Formats and Sizes
By default, every screenshot you take lands on your Desktop as a PNG file. This is great for quality; PNG is a lossless format, which means it preserves every single pixel perfectly. That’s exactly what you want for crystal-clear app store images. The trade-off? File size. A single, high-quality capture can easily be over 1.5 MB.
For anything you're putting on the web, balancing quality with speed is everything. Converting that same PNG to a JPEG can shrink its file size by 60–90%. That's a huge deal for page load times and can make a real difference in keeping visitors engaged.
The choice is pretty straightforward: stick with PNG for pristine quality when submitting to app stores. For web content, where performance is key, go with JPEG.
Sometimes, you need to dig a little deeper than just basic edits. If you ever need to inspect the hidden data within your images, you might find a guide on checking photo metadata on your Mac surprisingly useful.
Advanced Capture Techniques for App Store Assets
When you're creating screenshots for the App Store or Google Play, a simple screen grab just won't cut it. To boost app store growth, the goal isn't just to show the app; it's to create vibrant, polished images that tell a story and convince someone to hit that "Download" button.
This is where you need to go beyond the basics and master techniques that truly showcase your app's best features.
Think about it. Often, the most compelling moments in an app happen inside UI elements that disappear the second you click away, things like dropdown menus, pop-up modals, or slick animations. Trying to capture these with a standard screenshot is impossible. This is exactly where the timed capture feature becomes your secret weapon for creating high-converting app store assets.
Using the Timed Screenshot Feature
To freeze those fleeting UI elements in time, you need to stage the shot. Thankfully, the built-in Screenshot app on your MacBook handles this beautifully, no expensive third-party software needed.
Here’s the trick:
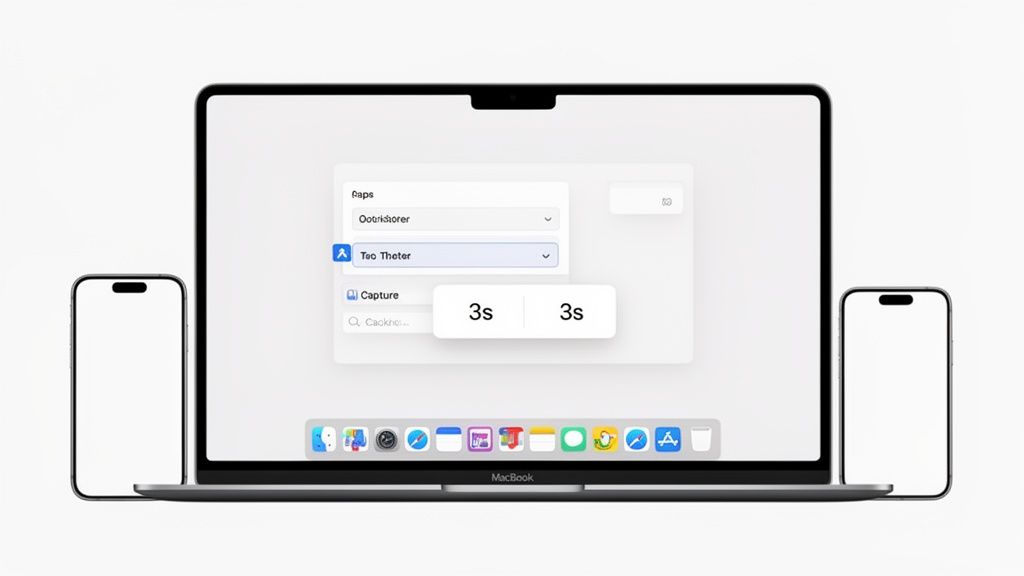
- Press Shift-Command-5 to bring up the Screenshot toolbar.
- Click on the Options menu.
- Choose either a 5-second or 10-second timer.
- Kick off the capture, then immediately switch to your app and get that menu or modal open. The screenshot will snap automatically after the delay, perfectly capturing the exact moment you wanted.
This method is a lifesaver for demonstrating complex interactions that would otherwise be impossible to grab. Once you have your captures, you'll need a solid workflow for getting them ready. For tips on preparing your assets for different platforms, our post on how to upload a screenshot can walk you through it.
And if you need to go a step further with dynamic screen captures and recordings, exploring screen recording tools can perfectly complement your static image workflow.
Capturing with the Touch Bar
For those with a MacBook Pro that has a Touch Bar, you've got another handy tool in your arsenal. You can actually take a screenshot of what's currently displayed on the Touch Bar itself.
It's incredibly simple: just press Shift-Command-6. An image of your Touch Bar display is instantly saved to your desktop. While it's a niche feature, it's invaluable for developers creating tutorials or support guides for apps that integrate with the Touch Bar.
If you’re a developer or marketer, you know the grind. Manually capturing screenshots for every little app update or localization project is a huge time suck. When you’re trying to generate dozens of high-quality, high-converting screenshots for both the App Store and Google Play, just knowing the keyboard shortcuts isn't enough. You need an efficient system to boost conversions.
This is where you graduate from simply taking screenshots to building a repeatable, efficient workflow.
The trick is to use the tools already baked into macOS to automate the grunt work. Think about it: you can use simple command-line functions or the Shortcuts app to script the whole capture process. Imagine a script that automatically boots up the iOS Simulator, sets it to the exact iPhone model you need, and then snaps all the required screens without you lifting a finger.
This isn’t about becoming a scripting wizard; it’s about creating a smart process that saves you time and keeps everything consistent.
Connecting Native Captures with Professional Platforms
While the built-in macOS tools are fantastic for getting the initial raw captures, the real magic happens when you pair them with a specialized platform for the final polish. This is where you can slash your production time. This combo lets you lock in brand consistency across all your assets and seriously speed up your app's time-to-market.
Some industry case studies have shown that automation can take the screenshot production process from a multi-hour manual slog down to less than 10 minutes, even for dozens of localized versions. It's not just a niche trick, either. Recent surveys found that around 58% of medium and large app publishers are already using some form of scripting or API-driven generation for their store assets. You can find developers discussing these very workflows on Apple’s developer forums.
A successful workflow separates the capture from the design. Use macOS tools for the raw captures, then feed those images into a system like ScreenshotWhale to apply branded mockups, captions, and localizations instantly.
This two-step process is the key to boosting your app store growth. You get the speed and precision of automated captures combined with the high-impact visual polish needed to actually stand out. By setting up a workflow like this, you turn a tedious, manual chore into a streamlined, high-output part of your launch.
Troubleshooting Common MacBook Screenshot Issues
Even a tool as reliable as the MacBook’s screenshot function can hit a snag now and then. It's frustrating when you hit a familiar shortcut to capture something time-sensitive, say, for an app store submission, and absolutely nothing happens.
Nine times out of ten, the culprit is a keyboard shortcut conflict. Another app, often a productivity tool or some utility humming away in the background, has likely hijacked Shift-Command-4 or Shift-Command-5 for its own purposes. It happens more often than you'd think.
Finding the Shortcut Conflict
To get things working again, you'll need to do a little detective work in your System Settings.
The best place to start is under Keyboard > Keyboard Shortcuts. Take a look through the "App Shortcuts" and "Services" sections. You’re looking for any other application that has registered the same key combination you use for screenshots. Find it, disable it, and your problem is almost always solved on the spot.
Locating Lost Screenshots
What if the screenshot seems to work, but you can't find the file anywhere? By default, macOS drops every screenshot right onto your Desktop. If yours are missing in action, it's likely the save location was changed, either by you or another app.
Here’s how to check and set it back:
- Press Shift-Command-5 to bring up the Screenshot app's toolbar.
- Click on the Options menu.
- The "Save to" section at the top will show you the current destination. Simply select Desktop or any other folder you prefer.
This quick check ensures your high-quality captures for the App Store or Google Play are always right where you expect to find them.
One final tip, especially for those of us with Retina displays: if your screenshots ever look blurry or pixelated on other devices, make sure you aren't accidentally resizing them somewhere along the way. The native PNG files capture every single pixel perfectly, preserving that crispness you need for professional app store visuals and effective marketing assets.
Common Questions About MacBook Screenshots
Even after you've got the main shortcuts down, a few nagging questions always seem to pop up. Getting these details sorted is the difference between fumbling around and creating polished, high-converting screenshots for your app store pages.
How Can I Change Where My MacBook Saves Screenshots?
Having every screenshot dump onto your Desktop is a recipe for chaos. Thankfully, you can redirect them to a dedicated folder and keep things organized.
Just bring up the Screenshot app with Shift-Command-5. Look for the "Options" button in the control bar, click it, and you'll see a "Save to" menu. Pick any folder you like. It's a small change, but it makes a world of difference when you're managing dozens of assets for a project.
How Do I Capture a Window Without the Drop Shadow?
Yes, you can, and it's one of my favorite tricks for clean design work. The default shadow looks nice, but it's a pain to edit out later.
Start by pressing Shift-Command-4, then hit the spacebar to switch to window selection mode. Before you click to capture the window, just hold down the Option key. Click, and voilà, the window is captured perfectly flat, no shadow.
The result is a clean image that’s ready to be dropped right into your App Store mockups or presentations without any extra fuss.
Capturing without the shadow is a non-destructive way to prep images for your site editor or design tool. It saves a step in post-production and ensures your app store mockups look crisp and professional.
Can I Copy a Screenshot Directly to My Clipboard?
Absolutely. This is a massive time-saver. Instead of saving a screenshot as a file only to open it and copy it again, you can send it straight to your clipboard.
All you have to do is add the Control key to your usual shortcut. For example, to grab a specific area, you’d use Control-Shift-Command-4. The capture happens invisibly, and you can immediately paste it into Slack, Figma, an email, or wherever you need it. This workflow is incredibly efficient, and we cover more cross-device tips like this in our guide on how to take a screenshot on iPad Pro.
Ready to stop wrestling with screenshots and start creating stunning, high-converting app store visuals in minutes? ScreenshotWhale provides professionally designed templates and a powerful editor to make your app shine. Try it for free and boost your app store growth today!