How to Screen Shot on iPhone The Ultimate Guide
Learn how to screen shot on iPhone with our ultimate guide. Master every method, from basic captures to advanced tricks for all iPhone models.
Taking a screenshot on your iPhone should be second nature, but the exact button combo can be surprisingly easy to forget. It all depends on the model you're holding.
For newer iPhones with Face ID, it’s a quick press of the Side button and the Volume Up button together. If you've got an older model with a classic Home button, you'll press the Side (or Top) button and the Home button at the same time.
Your Instant Guide to iPhone Screenshots
Whether you're saving a funny text from a friend, capturing a new high score in your favorite game, or putting together a visual guide for your parents, screenshots are essential. It's one of the most basic iPhone features, but the method has changed over the years, leaving a lot of people confused. This guide cuts right to the chase and gives you the exact steps you need.
The way we take screenshots has evolved right alongside the iPhone itself. Apple first rolled out the feature way back in 2008 with iOS 2.0. When the Home button was phased out with the iPhone X in 2017, the button combination had to change to fit the new gesture-based design. With over 1.56 billion iPhone users worldwide as of 2025, knowing the right way to snap your screen is a core skill for almost everyone.
Quick Reference for Your iPhone Model
To clear up any confusion, here's a simple breakdown. Just find your model in the table below, and you'll know exactly which buttons to press. Getting it right means you’ll get a perfect screen capture every time instead of accidentally locking your phone or waking up Siri.
iPhone Screenshot Methods by Model Type
| iPhone Model Type | Button Combination to Press |
|---|---|
| iPhone with Face ID (iPhone X and newer) | Press and release the Side Button + Volume Up Button simultaneously. |
| iPhone with a Home Button (iPhone SE, 8, etc.) | Press and release the Side Button + Home Button simultaneously. |
| iPhone with a Top Button (iPhone 5s and older) | Press and release the Top Button + Home Button simultaneously. |
This table covers the most common ways to grab a screenshot, but there’s a lot more you can do. We'll get into editing tricks, advanced techniques, and some handy troubleshooting tips in the next sections.
If you're interested in learning more about creating visual content, screen recording, and other related topics, you should Explore the soreel Blog.
Key Takeaway: The two main ways to take an iPhone screenshot depend on one simple thing: does it have a Home button or Face ID? The trick is a quick press-and-release motion; don't hold the buttons down too long
Mastering Screenshots on Your iPhone Model
Getting the timing right is everything. One quick tap and you’ve got a perfect screenshot; hold on a fraction of a second too long and you’re accidentally summoning Siri or locking your phone. We’ve all been there.
The exact method hinges on which iPhone you're holding, but once you master the button combo for your device, it becomes pure muscle memory. The key is a quick, simultaneous press and release. Think of it as a single, decisive action. If you linger, your iPhone assumes you want to do something else, like power it down. It's a subtle difference, but it's the one that counts.
Capturing on iPhones with Face ID
If you're using a modern iPhone without a Home button, like the iPhone 15, 14, and so on, the process is built around the two main physical buttons on either side of the device. It’s designed for quick, gesture-based use.
- Press the Side button (on the right) and the Volume Up button (on the left) at the exact same time.
- Let go of both buttons immediately. You'll see a screen flash and hear that familiar camera shutter sound (unless your phone is on silent).
A little thumbnail preview will pop into the bottom-left corner. You can tap it to start editing right away or just swipe it away to let it save straight to your Photos app.
Nailing the Screenshot on iPhones with a Home Button
Still rocking an iPhone with that classic physical Home button? This includes models like the iPhone SE or the iPhone 8 and earlier. The method is different, but the need for precise timing is the same. This is the OG screenshot method for longtime Apple fans.
- Press the Side button (or the Top button on even older models like the iPhone 5s) and the Home button simultaneously.
- Quickly release both. Just like the newer models, the screen will flash to confirm the screenshot was taken.
And just like with the Face ID models, a thumbnail appears, ready for you to mark it up. Getting this right means you avoid accidentally activating Touch ID or just bouncing back to your home screen empty-handed.
This infographic breaks down the two primary methods perfectly.
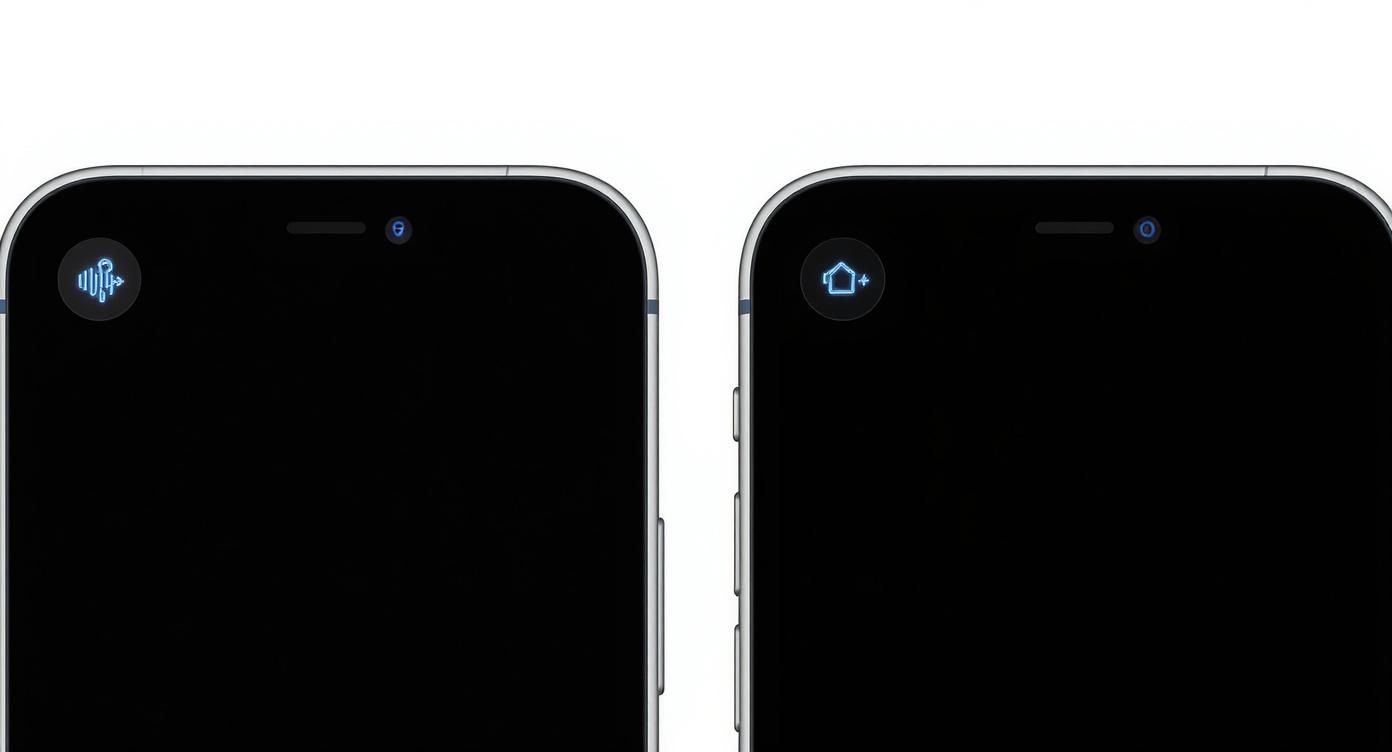
You can see the clear hardware evolution, shifting from the front-facing Home button to the newer side-button combination.
This kind of design simplicity is a core part of the iOS experience. While Android has a larger global footprint, Apple maintains a huge 28–29.2% share by nailing user-friendly features like this one. In fact, in major markets like the U.S. and Japan, where iPhone market share soars to over 57% and 66% respectively, these gestures are second nature to millions.
This influences everything from app design to how we share information visually, making the humble screenshot a surprisingly vital part of the ecosystem. You can dive deeper into the Android and iOS market share on tekrevol.com.
Advanced Screenshot Techniques You’ll Actually Use
Ready to move beyond the basic screen capture? Your iPhone has some seriously useful features tucked away that can make a real difference in your day-to-day workflow. Let's get into the pro-level tricks that will make using your device faster and more efficient.
These aren't just gimmicks. They're perfect for when you need more than just what's visible on your screen. From saving entire articles to creating hands-free shortcuts, these techniques transform the humble screenshot into a powerful productivity tool.
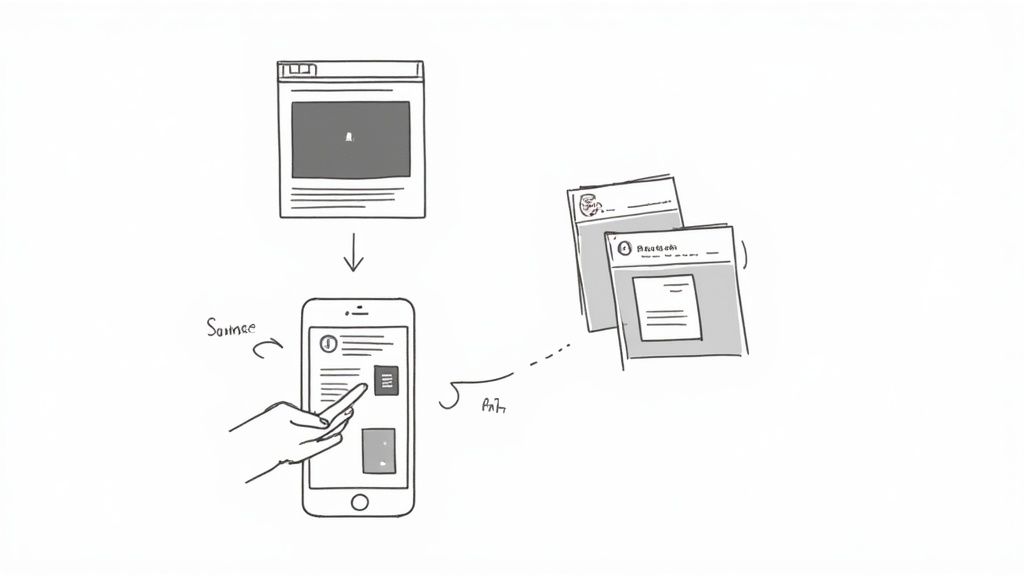
Capture an Entire Webpage with Full Page Screenshots
Have you ever tried to save a long recipe or an important article by taking a dozen separate screenshots? It’s a clumsy process and leaves a total mess in your photo library. This is where the Full Page screenshot feature becomes your best friend.
This tool works like a charm inside native Apple apps like Safari, Mail, and Notes. After you take a screenshot the usual way, just tap the thumbnail preview that pops up in the bottom-left corner. You'll see two options at the top of the editor: Screen and Full Page.
Tap on Full Page, and your iPhone will magically capture the entire scrollable document. You can even use the slider on the right to preview the whole thing. The best part? It saves as a single, clean PDF directly to your Files app, making it incredibly easy to share, print, or archive. Once you have your PDF, you might wonder how to get it online; for more on that, check out our guide on how to upload a screenshot.
Use Back Tap for an Instant Screenshot
One of the coolest and most useful accessibility features on the iPhone is Back Tap. This clever function lets you trigger actions just by tapping the back of your phone two or three times. It’s perfect for grabbing a quick screenshot when fumbling with buttons isn't an option.
Setting it up is surprisingly simple:
- Head over to Settings > Accessibility.
- Select Touch, then scroll down and tap on Back Tap.
- Choose either Double Tap or Triple Tap.
- From the list of actions that appears, select Screenshot.
And that's it. A quick double-tap on the back of your device will instantly capture your screen. This is an absolute game-changer for one-handed use or for anyone who finds pressing the physical buttons a bit awkward.
Pro Tip: Back Tap works even with most cases on. It uses the phone's accelerometer to detect the taps, so it’s surprisingly reliable and feels almost like magic.
Activate Screenshots with AssistiveTouch
Another fantastic accessibility tool that doubles as a power-user shortcut is AssistiveTouch. It places a persistent, customizable virtual button on your screen. This is a lifesaver if your physical buttons are broken or hard to press, but it’s also a great shortcut for anyone.
To get it going, navigate to Settings > Accessibility > Touch > AssistiveTouch and flip the toggle on. A floating button will appear on your screen. You can tap this button to open a menu, which you can customize to include a screenshot command.
For even faster access, you can assign "Screenshot" as a Single-Tap, Double-Tap, or Long Press action for the AssistiveTouch button itself. This puts a one-touch screenshot shortcut right on your screen, ready whenever you need it.
How To Edit And Annotate Screenshots Like A Pro
Taking the screenshot is just the start. The real power comes from turning that simple image into a clear, compelling message. The moment you snap a screenshot, a little thumbnail pops into the corner of your screen. Tapping it is your gateway to the Markup editor, an impressive built-in toolkit for making your screen grabs shine.

This is where you can crop out the noise, draw attention to what matters, or add quick notes, all without downloading a single extra app. It's incredibly handy, whether you're just circling a funny part of a text for a friend or creating polished visuals for a work presentation. Mastering these tools elevates a simple screenshot into a genuine communication skill.
Your Go-To Markup Tools And When To Use Them
Down at the bottom of the editor, you'll find your Markup toolbar, loaded with pens, highlighters, and other handy instruments. A single tap selects a tool, and a second tap lets you tweak its color and thickness. This control is exactly what you need to make your edits look clean and intentional.
For instance, the Highlighter tool is my go-to for emphasizing a line of text without completely hiding it. On the other hand, the Pen tool is perfect for quickly scribbling over sensitive details like a phone number or email before you share something. If you slip up, the Eraser tool cleans things up nicely, or you can just hit the undo arrow for a quick fix.
And for those who want to take their screenshots to the next level with even more advanced device frames and backgrounds, third-party tools like the Hishot app offer some really cool enhancement options.
To help you get the most out of the editor, here’s a quick breakdown of the essential tools and my favorite ways to use them.
Markup Tool Features and Best Use Cases
| Markup Tool | Primary Function | Practical Example |
|---|---|---|
| Pen / Marker | Freehand drawing and writing. | Quickly circling an important icon or redacting personal info. |
| Highlighter | Translucent overlay to emphasize text. | Drawing attention to a specific sentence in an article or message. |
| Text Tool | Adds typed text boxes. | Adding a clear, readable caption or heading to explain a feature. |
| Magnifier | Creates a zoom-in "loupe" effect. | Highlighting a tiny, hard-to-see detail in the user interface. |
| Shapes Tool | Adds predefined shapes like arrows, circles, and squares. | Using an arrow to point directly to a "Buy Now" button. |
| Crop | Trims the edges of the screenshot. | Removing distracting elements to focus only on the relevant part of the screen. |
These tools are surprisingly powerful, giving you everything you need for quick, effective visual communication right from your phone.
Creating High-Converting App Store Visuals
Believe it or not, the tools baked into your iPhone are powerful enough to help you create compelling App Store screenshots that actually drive downloads. Growing an app often boils down to communicating its value visually and instantly.
Imagine you're trying to show off a new feature. Instead of a boring, plain screenshot, you can:
- Use the Text tool to slap on a punchy headline that explains the benefit.
- Pop in the Magnifier to zoom in on a crucial button or a slick piece of UI.
- Draw a clean arrow with the Shapes tool to guide the user's eye right where you want it.
These simple annotations transform a static image into a mini-story, instantly demonstrating why someone needs your app. For developers and marketers who do this all day, a dedicated screenshot editor can streamline the process, but the core principles are the same.
The Markup editor turns a simple screenshot into a storytelling device. Use the Magnifier to highlight a key feature, add a text callout to explain the benefit, and crop to focus the viewer's attention. This is how you drive app store conversions.
You can even add a quick signature to a document by picking the Pen tool and signing with your finger.
Best of all, once your masterpiece is ready, you don't even need to save it first. Just tap the Share icon in the top right to send it straight to Messages, Mail, or AirDrop without ever leaving the editor. The workflow is seamless, making on-the-fly edits incredibly fast.
Troubleshooting Common Screenshot Problems
Taking a screenshot should be simple, but sometimes it just doesn't work. We've all been there; you try to capture something important, and nothing happens. Or worse, you accidentally lock your phone or summon Siri. It's frustrating, but the fix is usually pretty simple.
Let's walk through the most common hiccups and how to get things working again.
More often than not, the problem is just a matter of timing. If you hold the buttons down for even a split-second too long, your iPhone thinks you want to power it off. The trick is a quick, crisp, simultaneous press and release. Think of it as a single, decisive tap. If you keep missing it, just practice the motion a few times to build the right muscle memory.
When Your Screenshots Fail to Save
One of the most frequent complaints I hear is that screenshots aren't saving to the Photos app. This almost always points to one thing: your iPhone is out of storage. When your phone is full, there's simply nowhere for new images to go.
To check, head over to Settings > General > iPhone Storage. Here, you’ll get a clear breakdown of what’s eating up all your space. You can usually free up a ton of room just by deleting old videos, offloading unused apps, or moving files to iCloud. That should clear the way for your screenshots to save properly.
In rare cases, permissions can be the culprit, especially inside third-party apps. Some apps have built-in restrictions that prevent screen captures for security or copyright reasons. If the problem only happens in one specific app, this is likely the cause.
Solving Accidental Activations and Other Glitches
Another common headache is triggering the wrong action. You go for a screenshot but end up staring at Siri, or you hear the screen lock sound instead of the camera shutter. This again boils down to precision. On iPhones with Face ID, you have to press the Side and Volume Up buttons at the exact same moment.
Here are a few other quick fixes for common glitches I see:
- Thumbnail Disappears Too Fast: That little preview in the corner is just temporary. If you miss tapping on it, don't sweat it. Your screenshot is already safe and sound in your Photos app.
- Screenshot Fails Entirely: If absolutely nothing happens when you press the buttons, a simple restart often clears up minor software bugs. Just power your iPhone down completely, wait about a minute, and then turn it back on.
- Black Screen on Video Apps: Ever tried to screenshot a movie on an app like Netflix or Disney+ and just got a black screen? That’s not a bug. It’s Digital Rights Management (DRM), an intentional feature to prevent people from pirating content.
By tackling storage issues, perfecting your button-press timing, and understanding app restrictions, you can solve nearly any screenshot problem that comes your way. The solution is usually simpler than you think.
Common Questions About iPhone Screenshots
Even for something as second-nature as taking a screenshot, a few questions always seem to pop up. Let's tackle the most common ones I hear so you can get the most out of this simple but powerful feature.
Where Are My iPhone Screenshots Saved?
This is easily the number one question. Thankfully, your iPhone is smart about keeping things tidy.
Every single screenshot you snap is saved directly to your Photos app. You'll find them in a couple of places:
- In your main Library tab, mixed in chronologically with all your other photos and videos.
- In the Albums tab, where iOS automatically creates a dedicated “Screenshots” album for you. This is a lifesaver when you need to find one quickly.
This dual-filing system makes it surprisingly easy to track down that one specific screen grab from last week.
Can I Take A Screenshot Without Buttons?
You sure can, and it's a total game-changer for a lot of people. Apple has baked some incredible accessibility features into iOS that double as handy shortcuts for everyone.
The two best ways to do this are with Back Tap and AssistiveTouch. With Back Tap, you just set a double or triple tap on the back of your phone to instantly grab the screen. AssistiveTouch, on the other hand, gives you a small, floating virtual button you can customize with a screenshot command. Both are perfect if you're trying to use your phone one-handed or if your physical buttons are on the fritz.
Taking a screenshot without buttons isn't just an accessibility feature; it's a pro-level shortcut that can make your workflow faster and more efficient.
How Do I Screenshot A Long Webpage?
To capture an entire webpage or a lengthy note in one continuous image, you'll want to use the Full Page feature. It works like a charm in Apple’s own apps like Safari, Notes, and Mail.
Right after you take a screenshot, tap the little thumbnail preview that pops up. At the top of the editing screen, you’ll see two options: "Screen" and "Full Page." Tap on Full Page, and your iPhone will save the entire scrollable area as a single, clean PDF. Just keep in mind this is mostly limited to Apple's native apps.
Why Do I Get A Black Screen When I Screenshot Videos?
Ever try to screenshot a scene from a Netflix or Disney+ movie and just get a black image? That's not a bug; it’s Digital Rights Management (DRM) in action.
Streaming services build this in to prevent copyrighted content from being copied. The system deliberately blocks the capture to protect the material, and there’s no way to get around it. It's a standard practice across the industry. If you run into this, sometimes different devices have different rules; you might want to learn how to screenshot on a Google phone to see how other platforms handle it.
Ready to create stunning, high-converting app store visuals in minutes? With ScreenshotWhale, you can use professionally designed templates and a simple drag-and-drop editor to make your app stand out. Try ScreenshotWhale today and boost your downloads.