How to Screenshot on a Google Phone: Fast, Easy Steps
how to screenshot on a google phone: Learn quick gestures and shortcuts to capture screenshots on Pixel devices in seconds.
If you’ve ever fumbled with your phone trying to save a screenshot, you know how frustrating it can be. Luckily, Google Pixel makes it dead simple to capture your screen, offering a couple of rock-solid methods that work every time.
Whether you need to save a hilarious text, a QR code for a flight, or create the perfect visual for your app, knowing these shortcuts is a must for any Pixel owner.
The Two Main Ways to Screenshot on a Pixel
The classic way to take a screenshot is with the physical buttons. It is fast, reliable, and works in just about any situation. But there is also a button-free gesture method that feels a bit more modern and integrated with the Android experience.
Each approach has its moment. The button combo is my go-to when I need to capture something in a flash without thinking. On the other hand, the swipe-up gesture is perfect for creating high-converting app store screenshots, allowing me to frame the shot perfectly before capturing.
If you’re using an older device and want to see how these features hold up, you might find this deep dive on the Google Pixel 3a XL pretty interesting.
To help you figure out which method works best for you, I have put together a quick comparison.
Pixel Screenshot Methods at a Glance
This table breaks down the two primary techniques so you can pick the right one for any scenario.
| Method | Action Required | Best For |
|---|---|---|
| Button Combo | Press Power + Volume Down simultaneously. | Quick, in-the-moment captures inside any app. Think games, videos, or fast-moving content. |
| Recents Gesture | Swipe up from the bottom and hold, then tap the 'Screenshot' icon. | Creating clean, efficient app store screenshots by precisely framing the app UI before capturing. |
Ultimately, both get the job done. I recommend trying both out to see which one feels more natural for your daily workflow.
Mastering the Classic Button Shortcut
This is the old-school, tried-and-true way to grab a screenshot on a Pixel, and honestly, it’s still the most reliable. It is baked right into the Android system, so it works flawlessly even when gestures might fail you, like inside a full-screen game or a video app.
It could not be simpler: just press the Power and Volume Down buttons at the exact same time. The trick is to give them a quick, sharp press, almost like clicking a camera shutter. If you hold them down too long, you’ll end up changing the volume or locking your phone, which can be frustrating. A brief, simultaneous tap is all you need.
You will know you got it right when the screen flashes and you hear a little shutter sound. A small preview of your screenshot will immediately pop up in the bottom-left corner. This is where the magic happens.
What to Do with the Screenshot Preview
That little pop-up is your command center for quick actions, saving you a trip to the gallery app. It’s more than just a confirmation.
From here, you can instantly:
- Share: Hit the "Share" icon to send the screenshot straight to a friend via Messages, post it on social media, or attach it to an email.
- Edit: Tap the "Edit" button to jump into the markup tool. This is perfect for cropping out unnecessary details, circling something important, or highlighting text before you share.
- Capture More: If you’re on a long webpage or in a chat thread, you’ll see a "Capture more" button. Tapping this lets you take a scrolling screenshot to grab everything in one go.
If you don’t do anything, the preview vanishes after a few seconds and the image saves automatically. This button combo is pretty universal across the ecosystem, but you can always learn more about how to take a screenshot on an Android in our bigger guide.
Pro Tip: When creating app store visuals, this button combo is great for capturing dynamic moments in your app. Once you capture the screen, you can immediately upload it to a site editor to add captions and device frames, boosting your app store conversions.
Using Quick Gestures for Screen Captures
If you are not a fan of the button combo, or you just want a smoother way to grab what is on your screen, the Pixel's gesture system is where it is at. It feels much more modern and is perfect for when you want to capture something without fumbling with the sides of your phone.
This method works from the Recent Apps screen. The biggest advantage here is that you get to see exactly what you’re about to capture before you commit, which gives you a level of precision the button mash cannot really offer. This is an actionable insight for creating efficient and high-converting app store screenshots.
Accessing the Gesture Screenshot
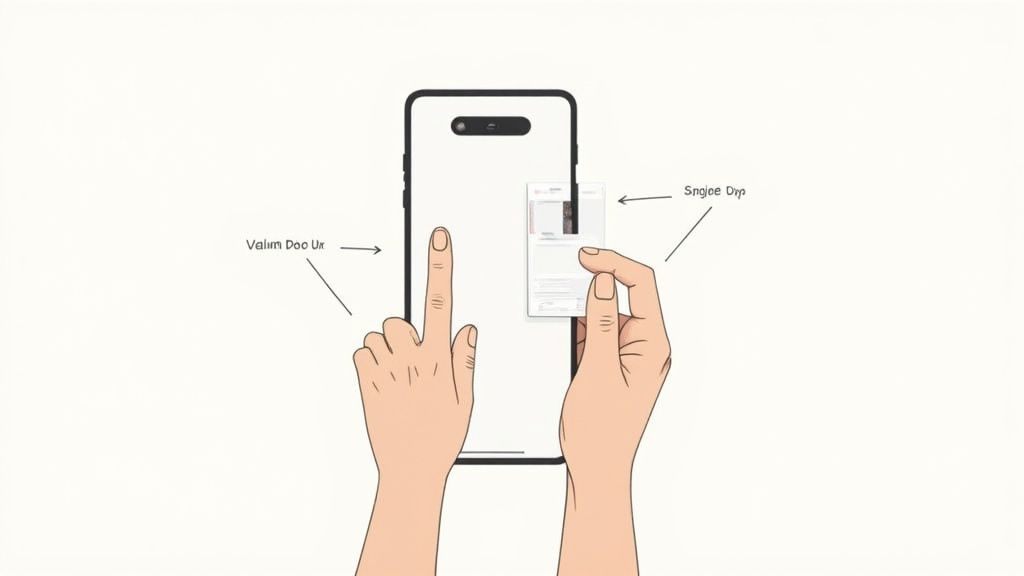
Getting there is simple. Just swipe up from the very bottom of your screen and hold for a split second. This will fan out all your recently used apps into a neat little carousel. From here, you can swipe left or right to find the exact app window you want to save.
Once you’ve landed on the right app, look down. You’ll see two options: Screenshot and Select.
- Screenshot: This one does exactly what you would expect. It immediately captures the entire app window you see.
- Select: This is a surprisingly handy tool that lets you copy text directly from the app window. It is incredibly useful for grabbing a snippet of info without needing a full image.
For our purpose, go ahead and tap Screenshot. The screen will flash, and a small preview will pop into the corner, giving you the same quick options to share or edit.
I find this gesture-based method is my go-to for creating clean, high-quality screenshots for things like app store listings or tutorials. You can perfectly frame the app's UI before capturing, which ensures every visual is crisp and focused, ready to be enhanced in a site editor to boost app store growth.
This technique is a lifesaver when you need to capture something that requires careful timing or framing. Think about pausing a video at the perfect moment or isolating a specific comment thread before taking the shot. It completely removes the guesswork and the frantic rush, giving you a much cleaner result every time.
Taking Screenshots Hands-Free with Google Assistant
Sometimes, you just cannot physically press the buttons. Maybe you are in the middle of a recipe with messy hands, or you are holding your phone up during a video call and do not want to fumble around. This is where Google Assistant steps in and makes life a whole lot easier.
It is a genuine game-changer for capturing your screen without touching a thing.
All you have to do is wake up the assistant. You can either say, "Hey Google," or, if you have it enabled, give your Pixel a quick squeeze. Once it is listening, just say the magic words: "Take a screenshot."
That is it. Your phone instantly captures whatever is on the display. It is a perfect example of how voice commands can be incredibly practical for everyday tasks, not just a gimmick.
Getting It to Work Perfectly
The first time you try this, Google Assistant might ask for permission to access what is on your screen. This is a one-time setup step. Just follow the on-screen prompts to grant access, and from then on, the command will work seamlessly.
If for some reason it is not working, there are a couple of quick things to check in your settings:
- Is "Hey Google" enabled? Your phone needs to be listening for the hotword for the voice command to work.
- Check Assistant settings: Dive into your Google Assistant settings and find the "Use screen context" option. This is the key permission that allows the Assistant to see and capture your display. Make sure it is turned on.
Despite its powerful AI features, the Pixel line has some ground to make up in the market. Google’s Pixel market share remains below 5% in most major markets. In the US and UK, around 5% of smartphone users own a Pixel, while Japan is highest at 10%, still a fraction of competitors. You can learn more about Pixel's market position on itedgenews.africa.
This hands-free approach is also ideal for creating app store screenshots. You can navigate your app to the perfect screen and then use your voice to capture it, ensuring the final image is framed exactly how you want without accidentally tapping something. It is a small trick that helps create professional, high-converting visuals for the Android and iOS stores.
Unlocking Advanced Screenshot Features and Edits
Taking a screenshot is just the first step. The real magic in a Google Pixel is what you can do the second after you capture the screen. The built-in tools let you turn a simple screen grab into a useful, informative visual without ever leaving the preview.

This is something app developers should pay close attention to, especially when creating high-converting app store screenshots. Using the immediate edit tools, you can highlight a new feature or slap a call-to-action directly on the image. It’s a lightning-fast way to create visuals that can actually drive app store growth and boost conversions.
The big catch, however, is that Google struggles with getting everyone on the latest Android version where these features shine. As it stands, only about 4.5% of active Android devices worldwide are running Android 15. That means for over 95% of Android users, these powerful, native editing tools are still just out of reach.
Capture More with Scrolling Screenshots
Ever tried to save a long chat thread or an entire webpage? A single screenshot just does not cut it. That is where scrolling screenshots save the day.
Right after you take a screenshot, look for a "Capture more" button in the little preview that pops up. Give it a tap. Your phone will then show you an expanded view with adjustable boundaries. Just drag the edges down to grab everything you need in one long, continuous image. It is incredibly useful.
Quick Edits Straight from the Preview
Once you have your shot, the real work begins right in that preview pane. The options are surprisingly practical for quick-and-dirty edits.
- Crop and Straighten: Just drag the corners to trim away the clutter and focus the viewer's attention exactly where you want it.
- Markup and Highlight: Grab the pen or highlighter tools to circle important details or draw attention to specific text. You can pick different colors and thicknesses to make your annotations pop.
- Add Text: Tap the text tool to add quick notes, captions, or instructions directly onto the screenshot itself.
These built-in features are great for most day-to-day tasks. But if you find yourself needing more firepower for professional work, you might want to explore dedicated screenshot tools that offer more advanced options. And for a refresher on the basics, be sure to check out our complete guide on how to capture a screenshot on Android.
Common Pixel Screenshot Questions Answered
Tapping a button combo, swiping, or even calling out Google Assistant, all work. Yet a few questions keep popping up, especially when you need that exact moment captured. I’ve gathered the hiccups I see most often and how to move past them.
Why Some Apps Block Screenshots
Ever tried grabbing your ticket barcode from an airline app, only to discover the screen shot blacked out? That’s Android’s FLAG_SECURE at work, a setting developers use to protect sensitive content. Banking, health, or certain streaming apps won’t let you capture a live transaction or protected video.
Sadly, there’s no hack to override this; you’ll need to rely on the app’s share or export feature instead.
Where Do My Screenshots Go
Once a capture succeeds, Pixel saves it in a dedicated spot, no hunting through your camera roll. To locate yours:
- Open the Google Photos app.
- Tap the Library tab at the bottom.
- Select the Screenshots folder under “Photos on device.”
Need another route? Launch the Files app, head to Internal storage > Pictures > Screenshots, and you’ll see the same images. From here, you can rename, move, or share them in bulk.
Keep that folder lean. Screenshots of QR codes, delivery confirmations, or fleeting chats can pile up fast. A quick sweep every few weeks reclaims storage and keeps your gallery focused on snaps that really matter.
Bonus tip: Tap the tiny preview after snapping to crop, scribble notes, or highlight text. Handy when you need to point out a specific detail before you share.
Knowing these quirks makes every capture feel effortless. If you’re swapping platforms, our guide to how to take a screenshot with an iPhone lays out the parallels. Soon you’ll be fluent in both ecosystems and get more from every device.
Ready to create stunning, high-converting visuals for your app? With ScreenshotWhale, you can design professional App Store and Google Play screenshots in minutes. Our easy-to-use editor and beautiful templates help you boost conversions and stand out from the competition. Start designing for free today!