Master the Extension Awesome Screenshot for App Store Growth and Conversions
Discover how the extension Awesome Screenshot can transform your workflow. Learn screen capture, annotation, and sharing to boost your productivity instantly.
A screenshot tool might not sound like a game-changer, but the right one can completely rewire your daily workflow. The extension Awesome Screenshot turns this simple task into a serious productivity driver, letting you capture anything on your screen with just a couple of clicks. It's more than a tool; it's a way to communicate faster and, more importantly, with total clarity.
Why Awesome Screenshot Is Your New Productivity Secret Weapon
Let's be honest: trying to explain a visual problem with text alone is a nightmare. It’s slow, confusing, and often leads to those endless email or Slack threads about a misplaced button or a weird bug. That kind of back-and-forth kills momentum. This is where a great screen capture tool becomes absolutely essential for any team that values speed.
Finding little efficiencies like this is one of the core strategies to improve team productivity that actually works. Awesome Screenshot fits right in, giving you a single platform to grab, annotate, and share visual feedback in seconds.
Beyond Basic Screen Grabs
For developers, it’s about so much more than just capturing bugs. It's about drawing an arrow pointing directly at a broken UI element, adding a quick note, and sending feedback that leaves zero room for misinterpretation. For marketers and designers, it’s a way to snag inspiration from a competitor’s website, highlight what works, and drop it into a brainstorming session.
Even for something as simple as creating a quick guide, a few annotated screenshots can replace pages of text. Imagine onboarding a new hire and showing them a process visually instead of just describing it. That’s the real power behind the Awesome Screenshot extension.
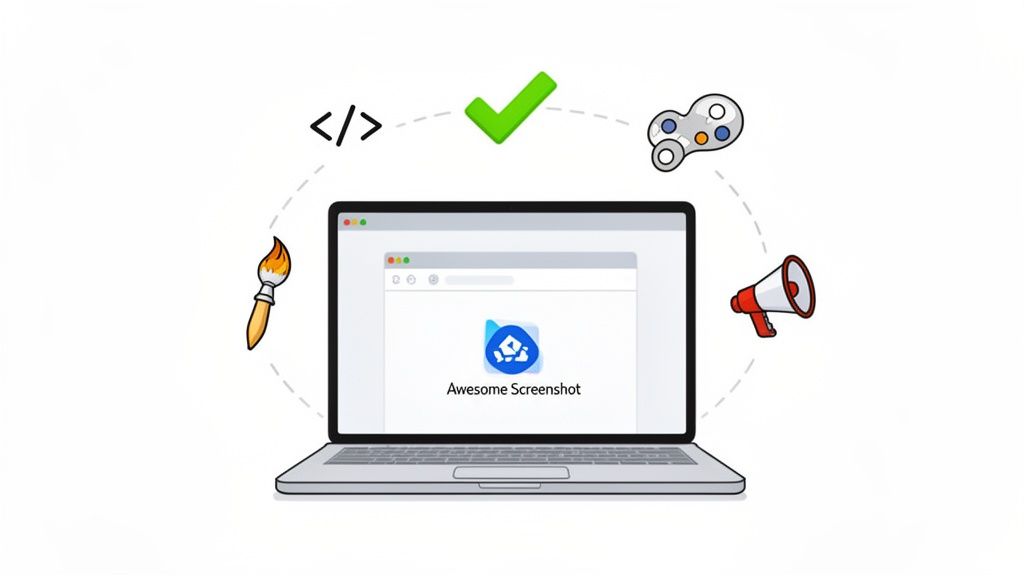
As you can see, the tool really positions itself as a central hub for all sorts of professional work, from creative projects to technical troubleshooting. It’s that jack-of-all-trades nature that makes it a staple for so many different roles.
But it's also important to know its limits.
For general purpose tasks, it's a top-tier choice. However, for specialized needs like creating high-converting app store screenshots for Android and iOS, a dedicated tool like ScreenshotWhale is essential for ensuring compliance and maximizing conversions.
Installing and Setting Up in Under Two Minutes
Getting Awesome Screenshot up and running in your browser is dead simple. Seriously, you can have it installed and ready to go in less than two minutes. The process is pretty much the same whether you’re a Chrome, Firefox, or Edge user.
Just head over to your browser’s official extension store, type "Awesome Screenshot" into the search bar, and hit the big "Add to Browser" button. That’s the first part done.
Next, your browser will ask for a few permissions. This is a standard part of the process for any tool like this, but it’s good to know what you’re agreeing to. It needs to see your browsing history to properly capture those long, scrolling web pages, and it needs access to your downloads so it can actually save the screenshots you take. These are necessary for the core features to work.
Pinning for Quick Access
Once it’s installed, the extension's icon might disappear into your browser's main menu, which isn't very helpful. For a much smoother workflow, you'll want to pin it right to your toolbar for one-click access.
- In Chrome or Edge: Click that little puzzle piece icon (for Extensions) in your toolbar, find Awesome Screenshot in the list, and click the pin icon next to it.
- In Firefox: Just right-click the Awesome Screenshot icon and choose "Pin to Toolbar."
It's a tiny tweak, but it makes a huge difference. Having the tool visible and ready to go saves you from fumbling through menus every single time you want to grab a quick screenshot.
Understanding Browser Compatibility
While Awesome Screenshot is solid across the big three browsers, it's smart to be aware that there can be small differences. With any tool that plugs into a browser, knowing how to navigate potential cross browser compatibility issues is just good practice for a hassle-free experience. For instance, you might find that certain advanced recording features are available in the Chrome version but haven't made their way to Firefox yet.
Here's a pro tip I always recommend: set up custom keyboard shortcuts from day one. Dive into your browser’s extension settings and create a simple hotkey, like Alt+S, to capture a selected area. This little bit of personalization makes your workflow so much faster.
Now that the extension is installed, pinned, and has the permissions it needs, you're all set. You’ve just paved the way for a much more efficient way to capture and share what you see on your screen.
Mastering Every Screen Capture Mode
Awesome Screenshot is way more than a simple point-and-click tool. Its real power comes from its different capture modes, giving you the perfect tool for pretty much any situation you can think of. Knowing which one to grab is the key to getting your point across clearly and quickly.
The most straightforward option is Visible Part. This mode is your go-to for grabbing exactly what you see on your screen right now. Think of it for quick questions, like sharing an error message with your IT team or asking a colleague for their opinion on a specific design element without any extra clutter. It’s fast, direct, and gets you immediate feedback.
Capturing More Than What You See
When you need to snag an entire webpage from the top header to the bottom footer, Full Page mode is what you want. This is a lifesaver for designers reviewing a long landing page, marketers analyzing a competitor's complete sales funnel, or developers who need a full picture of a page's layout. The tool automatically scrolls and stitches everything together into one seamless image, saving you from the headache of taking and piecing together multiple screenshots.
For more focused jobs, Selected Area mode gives you surgical precision. It lets you click and drag to isolate a single button, a specific chart, or just one block of text. It's fantastic for creating targeted design feedback, building out a knowledge base with specific UI elements, or just sharing a snippet of info without showing your entire screen.
But the real game-changer, in my experience, is the scrolling screenshot capability. It's invaluable for capturing things that just don't fit on one screen. Think long threads in a project management tool, an entire user flow within an app, or complex blocks of code you need a teammate to review.
This flowchart gives you a good idea of how a powerful extension like Awesome Screenshot fits into the ecosystem of major browsers. No matter your platform of choice, you’ve got a reliable tool ready to go.
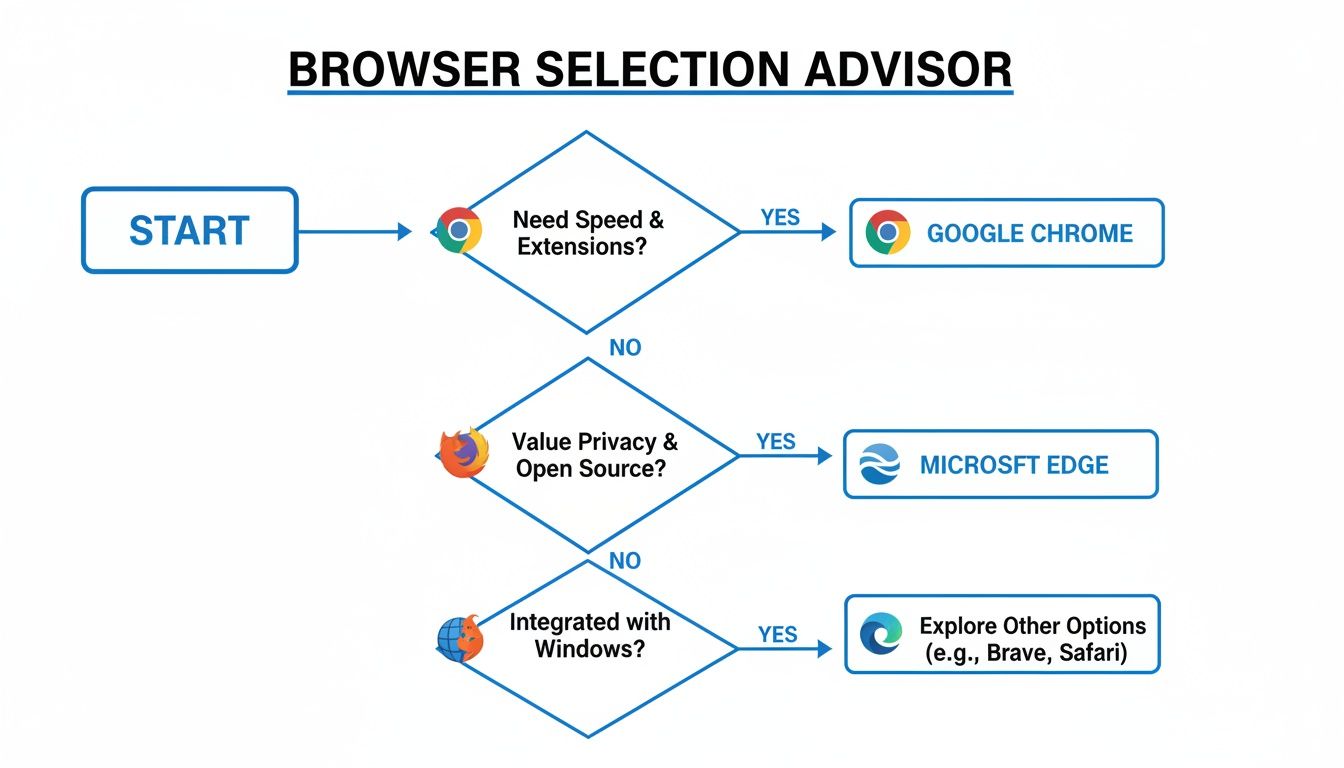
The takeaway here is that you're covered whether you're a die-hard Chrome user, a Firefox loyalist, or integrated into the Edge ecosystem.
Awesome Screenshot Capture Modes At A Glance
Choosing the right capture mode really just comes down to what you're trying to accomplish. Are you quickly showing something on your screen, or are you documenting a long, complex process? This table breaks it down to make the choice obvious.
| Capture Mode | Best For | Pro Tip |
|---|---|---|
| Visible Part | Quick, in-the-moment snapshots of exactly what's on your screen. | Perfect for sending a quick Slack message to a colleague for feedback on a UI element. |
| Full Page | Capturing an entire webpage, from header to footer, in one image. | Use this for design reviews or archiving a competitor's landing page for analysis. |
| Selected Area | Isolating one specific element, like a button, chart, or paragraph. | Ideal for creating focused tutorials or bug reports where context isn't needed. |
| Scrolling Capture | Nabbing long, continuous content like chat threads or code blocks. | Essential for documenting user flows or conversations that span multiple screens. |
Once you get the hang of these modes, you'll find yourself using the right one without even thinking about it.
Mastering these options turns a basic screenshot into a powerful communication tool, ensuring your message always lands with perfect clarity. If you're just getting started with screenshots in general, you might also want to check out the fundamentals; our guide on how to print screen on a MacBook covers the basics that are useful no matter your system.
By understanding these core functions, you can seriously speed up your daily tasks and cut down on misunderstandings, making every capture a clear instruction instead of just a picture.
Unlocking Powerful Annotation and Editing Tools
A raw screenshot is just information. An annotated one? That's a clear, direct instruction. This is exactly where Awesome Screenshot stops being a simple capture tool and becomes a powerful way to communicate.
The magic really happens in the built-in editor. For example, you can use the bright red arrow tool to pinpoint a misaligned button for a developer or use the blur tool to hide a customer's personal information before sharing a support ticket. The editor turns a static picture into a dynamic piece of actionable feedback.
![]()
This kind of immediate, visual annotation is a game-changer for speeding up feedback. Think about it: a product manager can deliver precise notes on a new app feature right on the image itself. No more long, confusing email chains. That’s how you get work done faster.
Creating High-Converting App Store Screenshots
This need for clear, edited visuals is absolutely critical in the mobile app world. Smartphones have completely changed how we capture images. They’re responsible for a staggering 92.5% of all pictures taken worldwide, which adds up to about 1.8 trillion photos a year. This explosion in mobile imagery means app developers and marketers are constantly looking for top-notch screenshot tools, especially since a huge 40% of users in major markets regularly edit their photos with apps. You can dig into more of these mobile photography stats on photoaid.com.
While Awesome Screenshot is fantastic for day-to-day feedback, creating app store screenshots that actually convert requires a more specialized touch. To really drive app store growth, your visuals need to be more than just descriptive. They need to be compelling and perfectly formatted for both Apple and Google's strict guidelines.
A few things are non-negotiable for effective app store visuals:
- Benefit-Oriented Captions: Don't just list features. Clearly state what the user gets out of them. A good example is changing "Filter Function" to "Find Your Perfect Match in Seconds."
- Device Mockups: Frame your app inside the latest iPhone or Android models. It just looks more professional.
- Consistent Branding: Stick to your app’s colors, fonts, and overall style.
- Localized Content: Translate your text to connect with a global audience.
These details are what turn casual browsers into actual users and boost conversions.
A common mistake I see is teams using a generic screenshot tool for their app store submissions. It often leads to visuals that lack polish, don't highlight the app's value, and can even violate App Store or Google Play rules. This risks rejection and delaying your launch.
Actionable Annotation for Efficient Workflows
For your daily grind, Awesome Screenshot’s tools are more than enough. Use the highlighter to draw attention to key numbers in a report or grab the pen tool for a quick freehand markup during a live demo. Each tool is built for speed and clarity.
If you’re looking to get even more efficient, our guide on using Awesome Screenshot in Chrome is packed with extra tips and tricks. Mastering these features will help you create a communication system with your team that’s faster and practically error-proof.
Ultimately, the goal is to make your visual feedback impossible to misunderstand. Whether you're flagging a typo, suggesting a design tweak, or celebrating a win, a well-annotated screenshot gets everyone on the same page, instantly. It’s a simple habit that can dramatically cut down on confusion and keep your projects moving.
Saving and Sharing Captures Like A Pro
Once you've nailed the perfect screenshot and marked it up, the last step is getting it where it needs to go. How you save and share can make or break your workflow, and luckily, Awesome Screenshot gives you a ton of flexible options to keep things moving.
First off, let's talk file formats. Your choice here actually matters. For anything that needs to look crisp and clean—think design assets or technical docs where clarity is everything—saving as a PNG is your best bet. It keeps every pixel perfect. But if you're just firing off a quick email or posting to the web, JPG will give you a much smaller file, which is often more practical.
Streamlining Your Workflow
To really speed things up, start by setting a default save location in your browser. Just pick a dedicated folder for all your captures. This one simple change means you stop wasting time clicking through your file system every single time you save an image. It keeps your desktop from becoming a chaotic mess, too.
Another huge time-saver is dialing in your keyboard shortcuts. Awesome Screenshot has defaults like Alt+Shift+S to grab a selected area, but you can—and should—customize these to fit how you work. Setting a simple, two-key shortcut for the capture mode you use most often shaves seconds off every single time, and that adds up fast over a busy day.
My personal pro tip? Sync your captures straight to a cloud service. I have mine set up with Google Drive, but Dropbox or Trello work great, too. This integration is a lifesaver. Your screenshots are instantly backed up and available on all your devices without you having to lift a finger.
For anyone working on a team, the instant shareable link feature is an absolute game-changer. Instead of downloading an image, finding it, and then uploading it again, you just generate a unique URL with one click. Paste that link into Slack, Jira, or whatever tool you're using. It's ridiculously fast and keeps your chat channels from getting clogged with file attachments. If you want to dig deeper into this, we have a handy guide on how to upload a screenshot that covers different methods.
By mixing smart file choices, custom shortcuts, and cloud integrations, you can turn the entire process from capture to share into one fluid motion. This is how you really weave Awesome Screenshot into your daily rhythm, making sure your visual communication is as quick as it is clear.
When to Level Up for App Store Success
Look, Awesome Screenshot is a fantastic all-rounder. For everyday tasks like grabbing a quick capture, annotating a bug report, or sharing an idea with a teammate, it’s brilliant. But creating high-converting app store assets? That's a completely different league.
This is where a general-purpose tool's limitations can become a genuine business risk. For app developers and marketers, those visuals in your store listing aren't just pictures. They are critical conversion assets.
Leaning on a generic tool for such a specialized job often leads to screenshots that look amateurish. Worse, they might violate the strict and ever-changing guidelines from Apple or Google. That can trigger an outright rejection, delaying your launch or update by days, maybe even weeks. It’s a frustrating and entirely avoidable setback that directly impacts app store growth.
The ASO Advantage of Specialized Tools
In the hyper-competitive mobile market, your app's visuals are everything. You get up to ten screenshot slots on the App Store, but let's be real. Most people only glance at the first two or three. Those first few images have to be absolutely perfect. If you want to see just how brutal the market is, the latest trends from Sensor Tower paint a very clear picture.
This is precisely why a dedicated tool like ScreenshotWhale isn't just a nice-to-have; it's a necessity for anyone serious about app store growth. It’s built from the ground up for this high-stakes environment.
Specialized tools give you an arsenal of features that general screen capture extensions simply don't have. We're talking about device mockups for the latest iPhones and Androids, ASO-optimized templates, and even AI-powered localization to translate your captions for global markets.
These aren't just fancy extras. They are essential for crafting professional, compliant, and conversion-focused visuals that actually drive downloads.
From 'Good Enough' to High-Converting
To create efficient and high-converting app store screenshots, you need a workflow designed specifically for that purpose. Just think about the difference in the final product:
- Generic Tool: You get a flat screen capture, maybe with some basic text slapped on top.
- Specialized Tool: You get a polished visual, perfectly framed inside a device, with benefit-driven headlines, consistent branding, and localized copy ready for international audiences.
That level of polish and strategic design is what separates an app that gets noticed from one that gets lost in the noise. Upgrading your toolkit isn't an expense; it's a direct investment in your app’s success and conversions.
Got Questions? We've Got Answers
If you're wondering about a specific feature or running into a snag with Awesome Screenshot, you're in the right place. Here are a few of the most common questions that pop up.
Can I Set Custom Keyboard Shortcuts?
Absolutely. Awesome Screenshot lets you ditch the default hotkeys and set up your own. The standard combo might be something like Alt+Shift+S for a selected area, but you can easily change that in your browser's extension settings. It’s a small tweak that can seriously speed up your workflow.
Does It Integrate with Cloud Services?
Yep, it plays nicely with major cloud storage services like Google Drive and Dropbox. You can set it up to automatically send your captures straight to a specific folder in the cloud. This is a lifesaver. No more manual uploads, and your files are always backed up and available anywhere.
Why Are My App Store Screenshots Getting Rejected?
This is a big one. While Awesome Screenshot is fantastic for everyday captures, it just wasn't built for the strict, hyper-specific world of app store assets. That's a whole different ballgame.
App store screenshots are your first, and maybe only, chance to make an impression. Simple mistakes like putting text too close to the edge or trying to reuse an iPhone screenshot for an iPad layout will get you an instant rejection. A rejection can set your launch back by weeks. If you want to dive deeper into what makes a successful app marketing strategy, the latest insights on app trends from AppsFlyer are a great place to start.
For the app store, a specialized tool isn't just a nice-to-have; it's essential. You need something that provides compliant device mockups, ASO-optimized templates, and easy localization features. A general-purpose extension just doesn't offer that, and using one can directly hurt your app's growth and conversion rates.
Ready to create stunning, high-converting app store visuals that actually drive downloads? ScreenshotWhale gives you the specialized templates, device mockups, and AI-powered tools you need to win on the App Store and Google Play. Start for free and see the difference.