A Guide to Using a Mockup iPhone PSD for App Store Success
Discover how to use a mockup iPhone PSD to create stunning, high-converting App Store screenshots. This guide offers actionable ASO strategies and tips.
A good mockup iphone psd is so much more than a pretty frame for your app screenshot. It’s a serious marketing tool that can directly fuel your app's growth, turning a flat image into a professional preview that genuinely drives downloads on the App Store and Google Play.
Why iPhone Mockups Are Your Secret Weapon for Growth
Think of your App Store screenshots as your digital storefront. People are scrolling, making snap judgments in literal seconds. A clean, professional mockup cuts through the noise. It immediately signals quality and tells potential users that the app inside is polished, credible, and actually worth their time.
That first impression is everything. It’s the difference between a scroll-past and a tap.
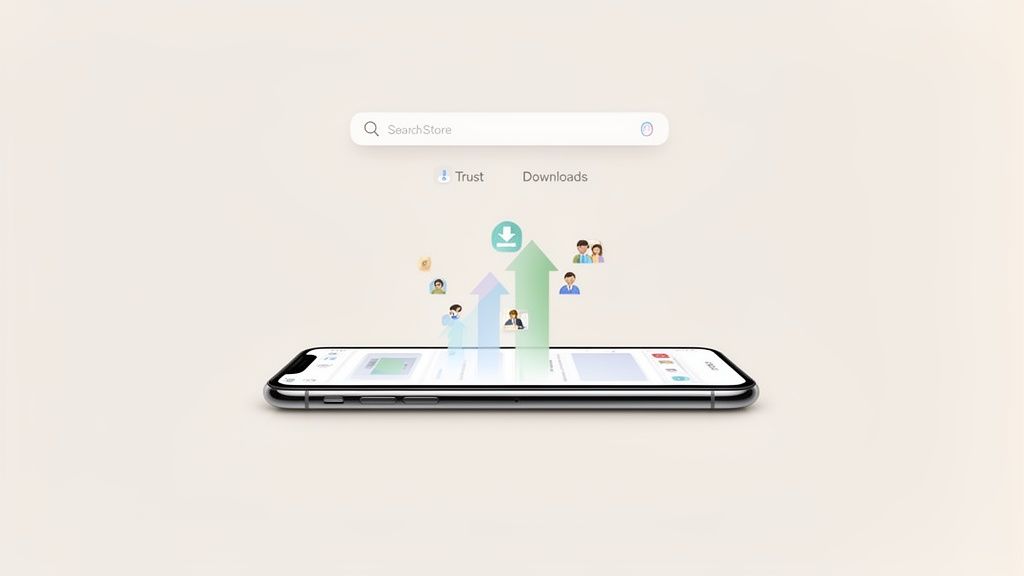
This isn't just about looking good; it's about building instant trust. When someone sees your app neatly presented inside a realistic iPhone frame, it suddenly feels more tangible and familiar. It helps them picture it on their own device, a small but powerful psychological nudge that gets them that much closer to hitting "Get."
From Pretty Pictures to Real Conversions
The connection between great design and business success is proven. We know that design-driven companies see 32% more revenue growth and 56% higher returns than their peers. For app developers, this principle applies directly to your App Store page. How you present your product is part of the product itself.
Your screenshots are a huge piece of your app store optimization puzzle. They sell your app’s value proposition faster than any block of text ever could. By using a polished mockup iphone psd, you’re making sure those visuals are working as hard as possible to turn casual browsers into actual users. For a deeper dive, we've put together a full guide on App Store Optimization (ASO).
A Core Piece of Your ASO Strategy
In a marketplace this crowded, you can't afford to neglect any part of your store listing. Professional mockups aren't just a "nice-to-have"; they serve several critical functions that lead directly to better performance.
- Builds Instant Credibility: A slick mockup just makes your app look legit. It tells people you're serious, which lowers their hesitation to download.
- Tells a Better Story: Placing screenshots in the context of a device helps you craft a more compelling visual narrative about what it's like to actually use your app.
- Boosts Conversion Rates: Time and time again, we see that polished, trustworthy visuals simply get more people to download. It just works.
When you frame your app's best features inside a realistic device, you're not just showing what your app does. You're demonstrating the experience a user will have. That subtle shift from listing features to showcasing an experience is what separates the top-performing apps from all the rest.
Preparing High-Converting App Screens
Before you even think about opening that iPhone mockup PSD, the real work needs to be done. You can have the most beautiful, high-res mockup in the world, but it won’t save you if your app screens are an afterthought. This is the prep work that separates the pros from the amateurs.
It all starts with a bit of strategy. You've got to map out a user's journey and pick the exact moments that tell your app's story. Don't just show off features; you're trying to communicate the value and experience someone gets from the very first screen they see.
Curating the Perfect User Journey
A great set of screenshots follows a simple, compelling narrative. Think about it like a mini-story with a beginning, middle, and end. Whether it's for the iOS App Store or Android's Google Play, I always try to capture these key milestones:
- The "Welcome" Moment: Your onboarding screen is your first handshake. It needs to be clean, inviting, and spell out the core benefit right away. No confusion.
- The "Aha!" Feature: What's the one thing that makes your app a must-have? Show that feature in action. Let users see themselves achieving something cool with it.
- The "Proof" Screen: This is the payoff. Show a tangible result like a finished to-do list, a gorgeous design, or a personalized workout plan. Show them what success looks like inside your app.
Nailing the Technical Prep
Okay, you've picked your hero moments. Now it's time to get the details right, because this is where so many people drop the ball. A messy status bar or placeholder text can instantly make your app feel cheap and break a user's trust.
First, a clean status bar is non-negotiable. It should always show a full Wi-Fi signal, a 100% battery, and a nice, neutral time like 9:41 AM. Any weird notifications, low battery warnings, or Bluetooth icons are just noise. Getting this right is a small detail that signals you care about polish.
The data you show in your screenshots has to feel both aspirational and real. Ditch the generic "John Doe" or "Test Project." If it's a project management app, use an exciting project title. For a fitness app, show an impressive but achievable goal. Make it believable.
And finally, make sure you’re capturing your screens at their proper native resolution. For something like the iPhone 15 Pro Max, that means you need images at exactly 1290 x 2796 pixels. Don't skimp here. Capturing at the highest possible resolution ensures your final mockups look crisp and sharp in the PSD smart object, with zero blurriness. This kind of prep is what really sets your app up for growth on the store.
How to Work with an iPhone PSD Mockup
Alright, you’ve got your app screenshots prepped and ready to go. Now for the fun part: bringing them to life inside a slick mockup iPhone PSD. This is where all that careful preparation pays off, turning a flat screen grab into something that looks like it belongs on the App Store front page.
Even if you’re not a Photoshop wizard, this process is surprisingly straightforward once you get the hang of it.
The real magic behind this entire workflow is a feature called Smart Objects. Think of them as special containers baked right into the PSD file. When you drop your screenshot into one, Photoshop automatically handles all the tricky stuff like perspective, screen curvature, and lighting to make your image fit the device perfectly. No distortion, no weird stretching. It’s an incredibly powerful tool that saves a ton of time.
Finding and Using Smart Objects
First things first, you need to find that Smart Object layer. When you open up your mockup file in Photoshop, pop open the Layers panel. Most designers are good about labeling this stuff clearly to make your life easier.
You’ll usually find it named something obvious, like:
- Place Your Screen Here
- Your Design Here
- Double-Click to Edit
- [SCREEN]
Found it? Great. Now, just double-click the layer's thumbnail icon (the little picture, not the name). This will pop open the Smart Object in a completely new tab as a .psb file. What you'll see is a simple, flat canvas, and this is where your screenshot goes.
This is the end goal of the screen preparation process we talked about earlier.

By following that simple select, clean, and capture workflow, the asset you're about to drop in is already looking its best.
Placing and Sizing Your Screenshot
Once you're inside that new Smart Object tab, just drag and drop your prepared screenshot file onto the canvas. It’ll show up on a new layer. If the dimensions don't line up perfectly with the canvas, you’ll need to resize it.
Hit Ctrl+T (or Cmd+T on a Mac) to bring up the Free Transform tool. Now, hold down the Shift key while you drag a corner to scale it up or down. This keeps everything proportional so your design doesn't get squished. Make sure it covers the entire canvas, then hit Enter to lock it in.
Now for the most important step: save the Smart Object file (Ctrl+S or Cmd+S). This one action is what tells Photoshop to update the original mockup. Flip back to your main mockup tab, and you'll see your app screen nestled perfectly inside the iPhone. It’s a great little moment.
Adding the Final Polish
A good mockup is more than just a frame. The best ones come with extra layers that add a touch of realism, and these little details are what separate an okay screenshot from a truly professional one. These nuances are always evolving with new devices, something we dive into in our complete guide to the iPhone 16 mockup.
Poke around the Layers panel for things you can tweak:
- Screen Glare and Reflections: These are usually layers you can toggle on and off or adjust. I often find that dropping their opacity a bit makes the effect feel more natural and less cheesy.
- Color Corrections: Some PSDs have adjustment layers like "Curves" or "Brightness/Contrast." These can help your screenshot’s colors blend in with the mockup’s overall lighting.
- Shadows: You can often fine-tune the device's shadow to make it sit more convincingly on whatever background you end up using.
Spending just a few minutes on these finishing touches can elevate your screenshot from a simple image to a high-converting marketing asset that can seriously drive your app store growth.
Designing Screenshots That Actually Convert Users
A perfect mockup is just one piece of the puzzle. The real magic happens when you pair that polished mockup iphone psd with a marketing message that grabs attention and actually persuades people to tap "Get." This is where you create efficient and high-converting app store screenshots that boost conversions.
Think of your screenshots as a micro-story. You’re not just showing off features; you’re showing the benefit of those features. A user couldn’t care less about your "advanced algorithm," they care that they can find a parking spot in under 30 seconds. That's the story you need to tell.
Crafting Captions That Compel
Your captions are the headlines for each image. They need to be short, punchy, and focused entirely on the user. Ditch the feature lists and start framing everything as a solution.
Instead of: "Advanced Calorie Tracker"
Try: "Reach Your Fitness Goals Faster"
Instead of: "Customizable Project Boards"
Try: "Organize Your Life in Minutes"
See the difference? This simple shift in language moves the focus from what your app is to what your app does for the user. It directly answers their silent question: "What's in it for me?"
Using Color and Imagery to Build Your Brand
Your background colors and images aren't just there to look pretty. They’re a core part of your brand identity and need to be chosen with purpose. Stick to a color palette that aligns with your app's logo to create a cohesive, professional vibe that builds trust instantly.
A vibrant, bold background can make your iPhone mockup pop, drawing the eye right where you want it. For a productivity app, you might lean into a clean, minimalist palette. For a game, you’d want something far more dynamic and energetic. The key is consistency across every screenshot, as this reinforces your brand and makes you look more credible.
Your first screenshot is your everything. It has one job: communicate your app's core value in a single glance. If a user only ever sees one image, that one has to be compelling enough to make them want to see the rest.
This kind of strategic thinking is what separates the top apps from the rest. In fact, product design stats show that design-led firms outperform the S&P 500 by 228% over a decade. That success is often built on rapid prototyping with tools just like mockups. To take your designs even further, it's worth exploring some actionable conversion rate optimization tips that apply to the entire user journey.
Telling a Cohesive Visual Story
Your screenshots should flow together, almost like a comic strip, guiding the user through a quick narrative of what it’s like to use your app. Each image should logically build on the last one.
Let’s imagine a language learning app. The visual story could look something like this:
- Screenshot 1: "Learn a New Language in 5 Minutes a Day" (Shows a clean, welcoming home screen).
- Screenshot 2: "Master Vocabulary with Fun Quizzes" (Shows an interactive quiz mid-game).
- Screenshot 3: "Track Your Progress and Stay Motivated" (Shows a rewarding progress chart lighting up).
This sequence does more than just list features. It walks a potential user from the initial promise to the final payoff, making the value of your app impossible to ignore.
How to Automate and Scale Your Screenshot Creation
Let's be honest. Manually creating dozens of screenshots in Photoshop for every app update, new device size, and target language is a recipe for burnout. Working with a single mockup iphone psd file just doesn't scale. A much smarter workflow gets you out of that manual grind and into an automated system that can generate entire screenshot sets in minutes.
This shift is about more than just speed; it's crucial for maintaining brand consistency. By using templates, you ensure every single screenshot shares the same layout, font, and color scheme. The result is a cohesive, professional-looking storefront that builds trust and boosts app store growth.
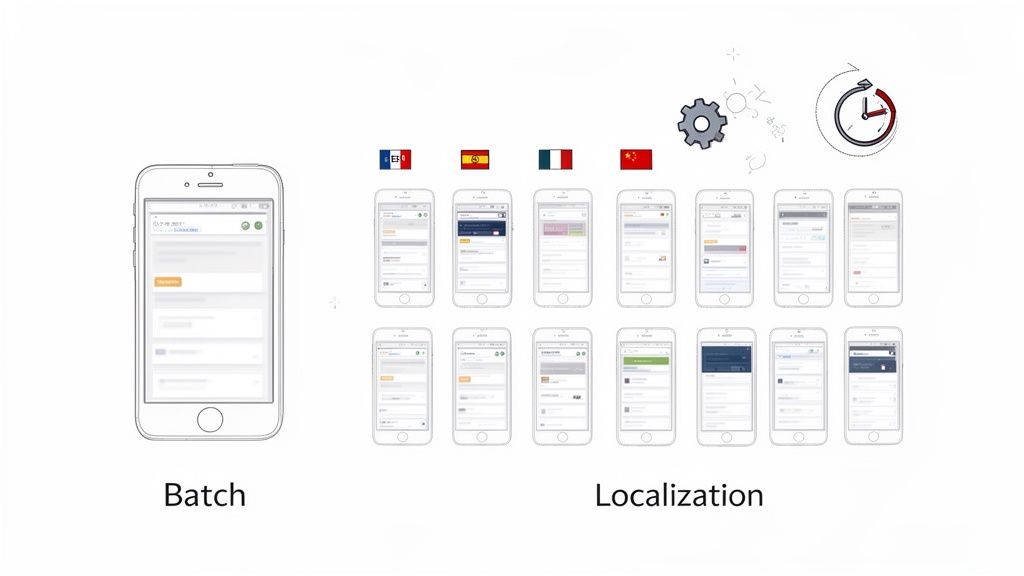
The Power of Batch Processing
Batch processing is the real game-changer here. Instead of editing one screenshot at a time, you set up a single design template and apply it across an entire set of raw screen captures all at once.
For a practical example, in a screenshot editor, the process looks something like this:
- Choose a Template: Start with a professionally designed layout that already has device mockups, a vibrant background, and text fields.
- Upload Your Screens: Drag and drop all ten of your raw screenshots into the editor.
- Write Your Captions: Add benefit-driven headlines for each screen.
- Generate All Sets: Click a button, and the tool creates the full set for every required iOS and Android device size, perfectly formatted and ready to go.
This simple workflow turns hours of repetitive Photoshop drudgery into just a few minutes of focused effort. It’s the key to keeping your App Store page fresh without derailing your development schedule. We dive deeper into this in our guide on how to generate app screenshots with modern tools.
Adopting an automated workflow isn't just about saving time. It's about enabling a global strategy that would be nearly impossible to manage manually, especially for small teams or solo developers.
Scaling Globally with Instant Localization
For many app creators, localization is the final frontier. The thought of translating screenshot captions into dozens of languages and then manually placing them all in Photoshop is a massive undertaking that can take weeks.
This is where automation truly shines. Modern tools can translate your captions into over 100 languages instantly using AI. What once required hiring a team of translators and designers now happens with a single click. You can prepare localized screenshots for a global launch in the same amount of time it used to take to create a single set for one language.
This capability is essential for boosting growth in international markets. A user in Japan is far more likely to download an app that speaks their language, not just in the description, but right there in the screenshots. Exploring various AI tools for content creators can open up new possibilities for designing more impactful visuals with less effort. By moving past the limitations of a standard mockup iphone psd, you can finally scale your app globally without scaling your workload.
Common Questions About iPhone PSD Mockups
Even with a good process, a few specific questions always pop up, especially if you're new to using a mockup iphone psd. Getting straight answers can save you a ton of time and help you submit your app with confidence.
Let's walk through some of the most common hurdles I see developers and marketers run into.
What Are the Right Screenshot Dimensions for the App Store?
This is a big one. Apple is notoriously strict about screenshot dimensions, and they change with almost every new piece of hardware. For the 6.7-inch iPhone Pro Max, for example, your screenshots need to be 1290 x 2796 pixels. For the 6.1-inch Pro, it’s 1179 x 2556 pixels. No exceptions.
It is absolutely critical to check Apple’s official App Store Connect documentation for the latest specs before you export anything. An easier way to handle this, honestly, is to use an automated ASO tool. Those platforms are always kept up to date with the latest size requirements, which completely removes the guesswork.
How Do I Make My Screenshots Look Good in Both Light and Dark Mode?
The best approach here is to design for versatility from the get-go. Instead of pure white or black, pick background colors and text combinations with enough contrast to stay legible and look sharp in either mode. A vibrant background that isn't at either extreme of the light/dark spectrum usually does the trick.
A quick sanity check can save you a headache later. Always test your final images on a real device, toggling between light and dark mode yourself. It’s a simple step that can catch a glaring visibility issue before your users do.
Can I Just Use an iPhone Mockup for the Google Play Store?
Please don't. While it might seem like a small shortcut, it’s one of those details that can really backfire. Android users expect to see devices that look and feel native to their ecosystem. Showing them an iPhone mockup can feel jarring and frankly a bit lazy, like the app is just a quick port.
That subtle disconnect can erode user trust and tank your conversion rate. Stick to the unwritten rule: Android device mockups for Google Play, iPhone mockups for the App Store. It’s all about meeting user expectations where they are.
Where Can I Find High-Quality Mockup iPhone PSD Files?
You can find tons of free and premium PSD templates on design resource sites scattered across the web, catering to just about any style or device model you can think of.
But if you want a truly efficient and scalable workflow, you should seriously consider a dedicated app screenshot generator. Tools like these come loaded with professionally designed templates that are already optimized for every required device size and pre-approved by App Store guidelines. It lets you stop fussing with the technical details and focus on what really matters: your marketing message.
Ready to create stunning, high-converting screenshots in minutes? With ScreenshotWhale, you can access professionally designed templates, automate localization into 100+ languages, and generate perfectly sized assets for every device. Start for free on ScreenshotWhale.